My SVD has been driving me nuts lately, Fire button is very intermittent. Was only firing 50% of the time so I decided to strip and see what I can see.
Firstly, I would not recommend doing this for fun... there is a very good chance your SVD will get scratched and scarred (mine did). This took me about 2 hours so its not exactly a walk in the park either.
The 1st bit is the part that causes the most damage, you need to open it up. The top cap is press fitted and is really tight. I clamped it in the bench vice on the beauty ring and wiggled and bent like crazy to pop it open.
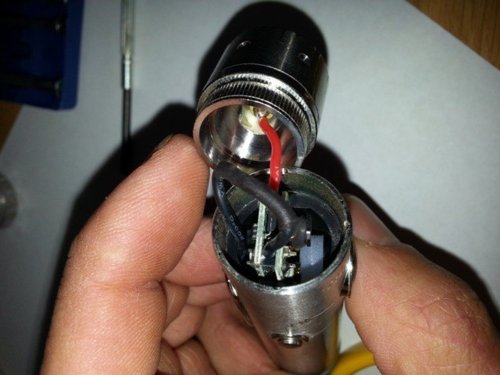
Now you need to desolder the red wire from the centre pin to remove the top cap completly.
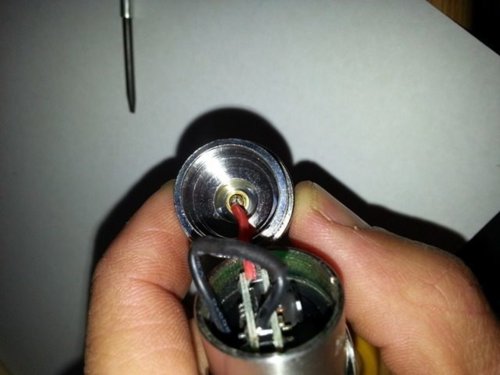
You also need to cut or desolder the black wire that is looped, it is already solder joined and covered with heat shrink.
If you have the correct size Torx screw driver, remove the screws around the screen, at least the one closer to the atty. I didnt have the correct size and ended up damaging my screen,luckily it still works perfectly.
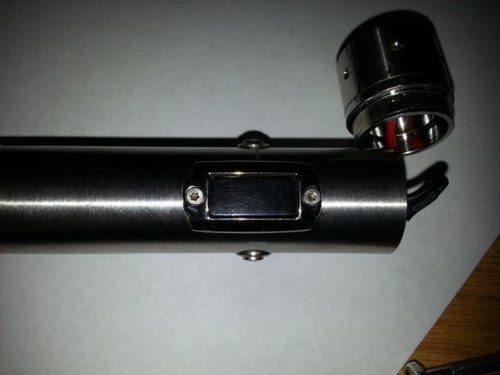
Now remove all 3 buttons, you have to lever them out with a flat screwdriver, I did scratch the body while doing this.
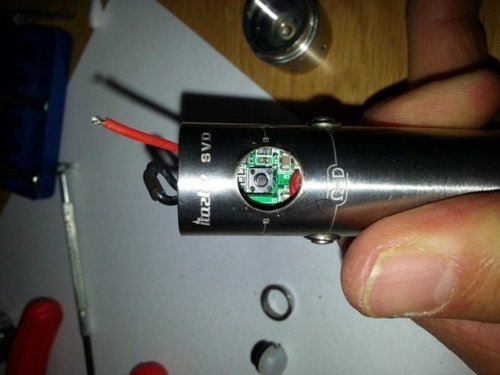
Now you can remove the PC board and the black holder ring that keeps the board in place. Do this carefully being careful not to damage the board. They slide right out but there is a positive wire connecting the board to the battery positive.
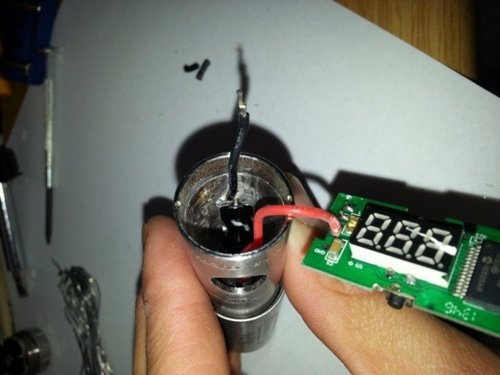
See the damage on my screen from not removing the torx screw... luckily it still works perfectly.
Now cut the positive wire, it is already joined and heatshrinked. Push it through one of the side button holes for access.
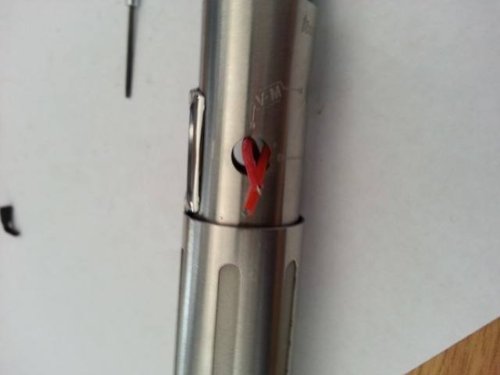
Now you remove the board!
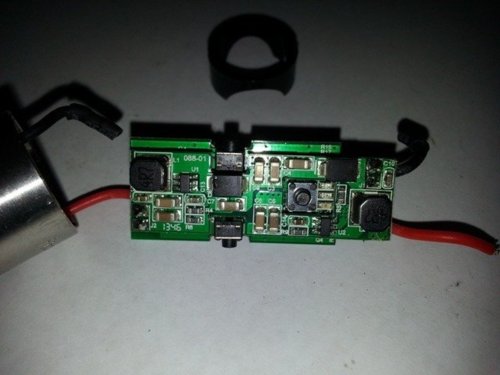
To get to the switch properly , you have to seperate the 2 circuit boards by desoldering the standoff interconnections. This is quite a fiddly solder job that should only be attempted by someone with previous soldering experiance. Ive been working on PC boards for about 15 years and I battled a bit.
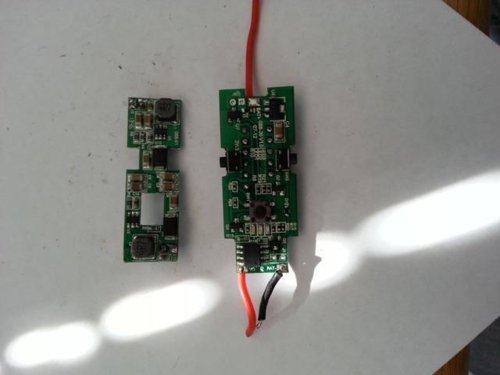
If you have a spare tactile switch you could replace the switch. I didnt, so decided to open it and check. To open it, you need to cut the 4 little plastic pieces holding the switch together.
And Waala... there is the culprit!
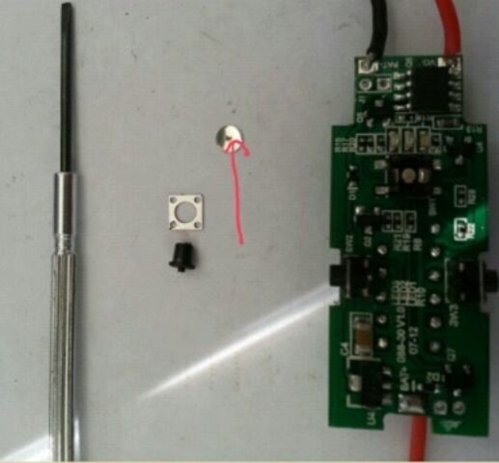
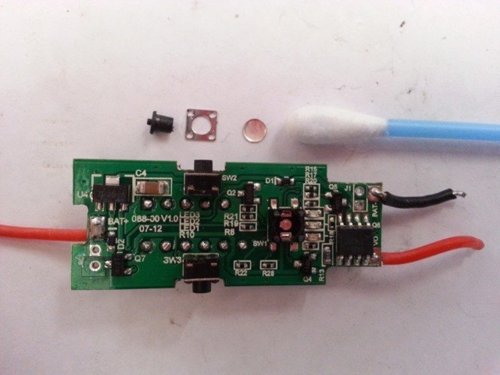
There was some dirt, a tiny bit, causing all this hassle by creating a dirty contact. The switch is a sealed unit so this could have only happened in the factory that made the switch. Cleaned out with earbud, if you have contact cleaner... even better.
Now to reverse the process and reassemble. After assembling the switch, use a soldering iron to melt the tops of the 4 posts, just a little, to hold it in place.
You need to resolder the 2 wires that you cut and heatshrink. You can use insulation tape but heatshrink is best.
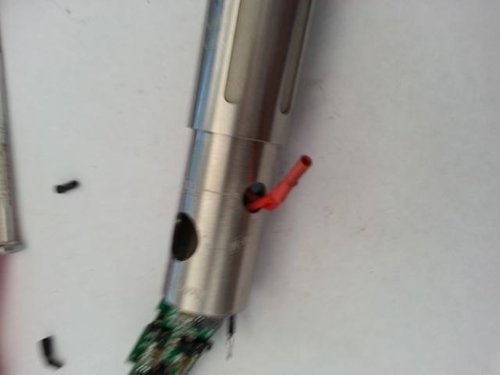
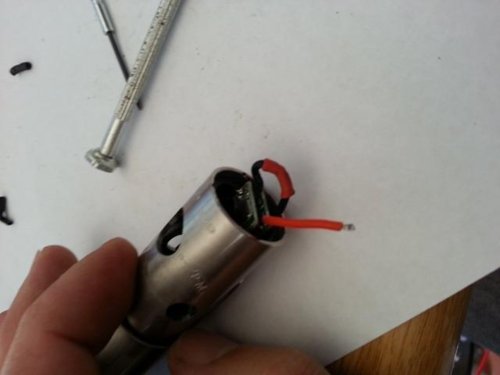
Re-inserting the PC board and the plastic holder ring is a bit tricky but just work carefully and you'll get it eventually.
Also be carefull about the placement of the wires, I accidentally placed a wire over the screen. Not a chance am I opening it again to fix this. Whenever I get the correct size torx, I should be able to move it by removing the screen cover.
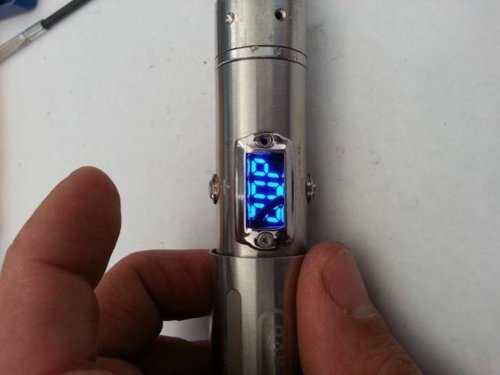
As you can see, I managed to get one of the screws out using a flat jewellers but the other one wouldnt budge. Luckily it saved the screen from further damage when I reinserted it. When reinserting the 3 buttons, I tapped them in softly with a hammer.
And..... Its firing like a Boss!!! havent had a single misfire since.
Can you believe such a tiny section of a pube can cause so much trouble!
If you ever decide to do this, good luck... I would highly recommend using the highest Nic level juice you have while working on it
Firstly, I would not recommend doing this for fun... there is a very good chance your SVD will get scratched and scarred (mine did). This took me about 2 hours so its not exactly a walk in the park either.
The 1st bit is the part that causes the most damage, you need to open it up. The top cap is press fitted and is really tight. I clamped it in the bench vice on the beauty ring and wiggled and bent like crazy to pop it open.

Now you need to desolder the red wire from the centre pin to remove the top cap completly.

You also need to cut or desolder the black wire that is looped, it is already solder joined and covered with heat shrink.
If you have the correct size Torx screw driver, remove the screws around the screen, at least the one closer to the atty. I didnt have the correct size and ended up damaging my screen,luckily it still works perfectly.

Now remove all 3 buttons, you have to lever them out with a flat screwdriver, I did scratch the body while doing this.

Now you can remove the PC board and the black holder ring that keeps the board in place. Do this carefully being careful not to damage the board. They slide right out but there is a positive wire connecting the board to the battery positive.

See the damage on my screen from not removing the torx screw... luckily it still works perfectly.
Now cut the positive wire, it is already joined and heatshrinked. Push it through one of the side button holes for access.

Now you remove the board!

To get to the switch properly , you have to seperate the 2 circuit boards by desoldering the standoff interconnections. This is quite a fiddly solder job that should only be attempted by someone with previous soldering experiance. Ive been working on PC boards for about 15 years and I battled a bit.

If you have a spare tactile switch you could replace the switch. I didnt, so decided to open it and check. To open it, you need to cut the 4 little plastic pieces holding the switch together.
And Waala... there is the culprit!


There was some dirt, a tiny bit, causing all this hassle by creating a dirty contact. The switch is a sealed unit so this could have only happened in the factory that made the switch. Cleaned out with earbud, if you have contact cleaner... even better.
Now to reverse the process and reassemble. After assembling the switch, use a soldering iron to melt the tops of the 4 posts, just a little, to hold it in place.
You need to resolder the 2 wires that you cut and heatshrink. You can use insulation tape but heatshrink is best.


Re-inserting the PC board and the plastic holder ring is a bit tricky but just work carefully and you'll get it eventually.
Also be carefull about the placement of the wires, I accidentally placed a wire over the screen. Not a chance am I opening it again to fix this. Whenever I get the correct size torx, I should be able to move it by removing the screen cover.

As you can see, I managed to get one of the screws out using a flat jewellers but the other one wouldnt budge. Luckily it saved the screen from further damage when I reinserted it. When reinserting the 3 buttons, I tapped them in softly with a hammer.
And..... Its firing like a Boss!!! havent had a single misfire since.
Can you believe such a tiny section of a pube can cause so much trouble!
If you ever decide to do this, good luck... I would highly recommend using the highest Nic level juice you have while working on it


