*** DISCLAIMER ***
Do not attempt this if you know little about electronics. I take no responsibility for any loss or damage to your device or your life.
*** DISCLAIMER ***
Well with that out of the way. My entire vape set up that i carry around with my was stolen recently ( i know f**k that guy)
So on a very light budget i had to get myself a new device, batts and charger. I got the device and batts (RDTABox and LG turds) but unfortunately that is where my budget ended, and the RDTA box doesnt do USB charging, so i had to improvise. I didnt have R300+ for a new charger and luckily i know something about electronics, so decided to build one relatively easily.
For those of you that sit in the same situation and need a 18650 charger look no further, you can build one for less than R80.
Materials needed (2 bay - 18650 charger):
2x TP4056 Charging module - http://lantis.co.za/ocols/index.php?route=product/product&product_id=1948&search=tp4056
2x 18650 Battery Holder - http://lantis.co.za/ocols/index.php?route=product/product&product_id=2343&search=18650
Some wire
Soldering Iron (My soldering sucks i know)
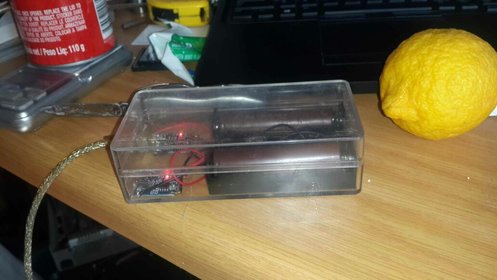
And a plastic case (I used an old Limitless RDTA + box)
Mini USB cable
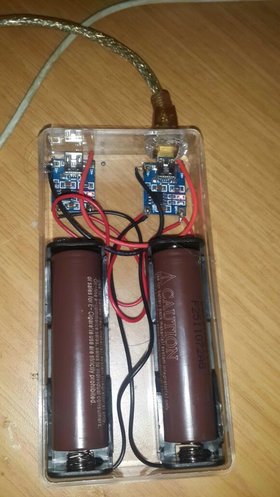
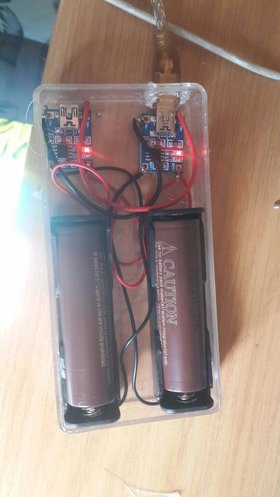
From here on it is as simple as connecting the wires from the battery sled to the charging module Positive to Positive and Negative to Negative and plugging in your USB cable, Voila there you have a 18650 battery charger.
You can now also link up your modules by connecting IN+ and IN- on the 2 boards and have single USB input that powers both modules and charges both batteries.
The board has overcharge protection and switches off as soon as the battery is fully charged. Input is 5v and charges at 1A.
PS: not really good at writing tutorials but willing to answer any questions. Been using this for a while now, the previous charger i built was 3-bay for my RX200s but that is gone now.


