D's Custom Diary

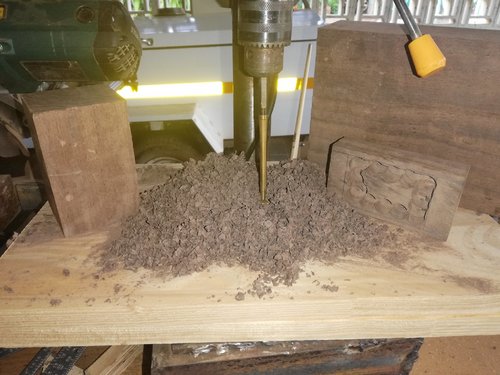
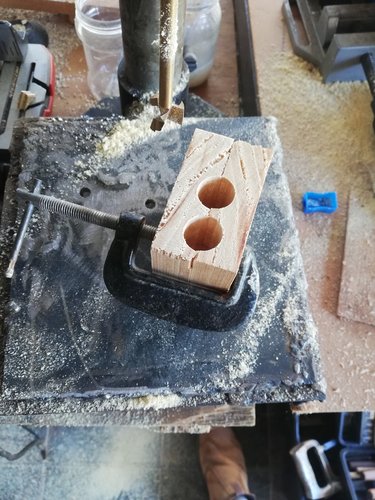
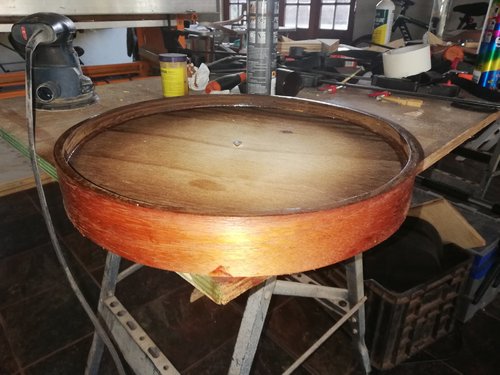
So after a lot of tasks I had to fi ish for SWAMBO, and Lazy Susan for another client that almost done, I decided to screw the plywood squonk and go balls to the wall straight to a piece of Lead Wood/Hardekool. This is goi g to take some time, damn this wood is hard. Took out the bulk of the cavity today with the drill press, over to chisels and rasps now to refine and make it look pretty.

Lazy Susan Polyurethane finish busy curing, going to put the suede in a bit later for the bottom.
IMG_20190428_165313.jpg

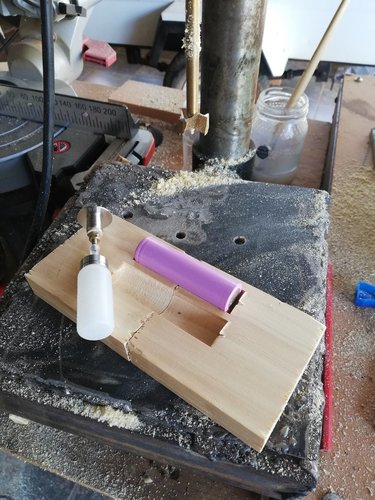
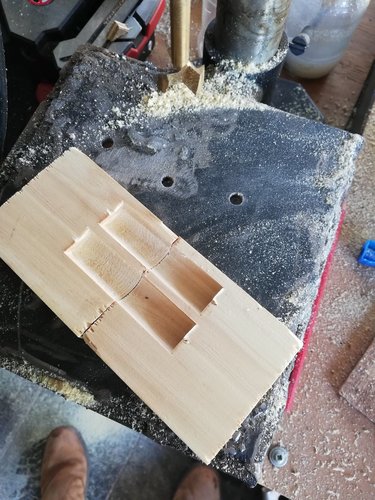
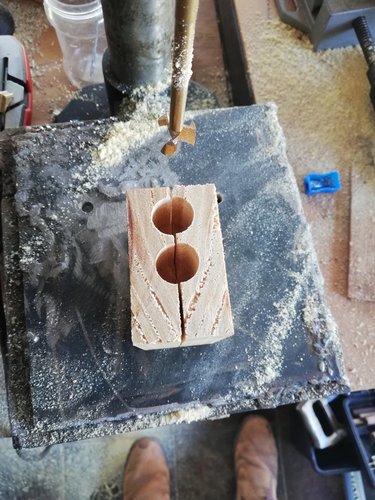
The start of the Mod housing:
IMG_20190428_164835.jpg
 
So after a lot of tasks I had to fi ish for SWAMBO, and Lazy Susan for another client that almost done, I decided to screw the plywood squonk and go balls to the wall straight to a piece of Lead Wood/Hardekool. This is goi g to take some time, damn this wood is hard. Took out the bulk of the cavity today with the drill press, over to chisels and rasps now to refine and make it look pretty.

Lazy Susan Polyurethane finish busy curing, going to put the suede in a bit later for the bottom.
View attachment 164873

The start of the Mod housing:
View attachment 164874

Tips if you need it. Clamp the workpiece in the drill vice and use a straight flute router bit. It might work faster and will give cleaner results
 
Tips if you need it. Clamp the workpiece in the drill vice and use a straight flute router bit. It might work faster and will give cleaner results
Thanks, but going to kick it 'old school' on this build. I love working with hand tools. It slower but a lot more satisfying
 
Thanks, but going to kick it 'old school' on this build. I love working with hand tools. It slower but a lot more satisfying

I hear you! If your comfortable then stick to what you know.thats how I like to do things.
 
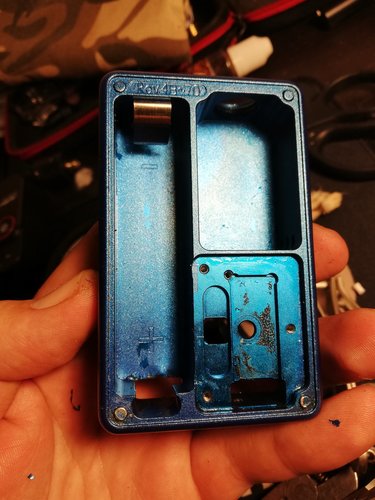
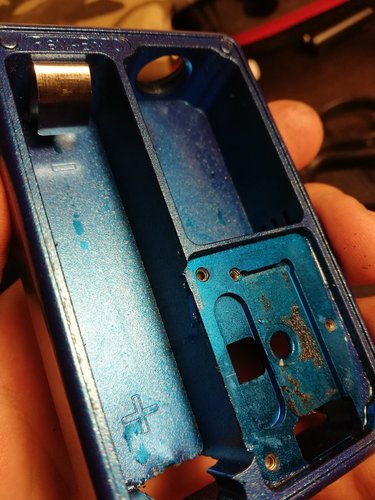
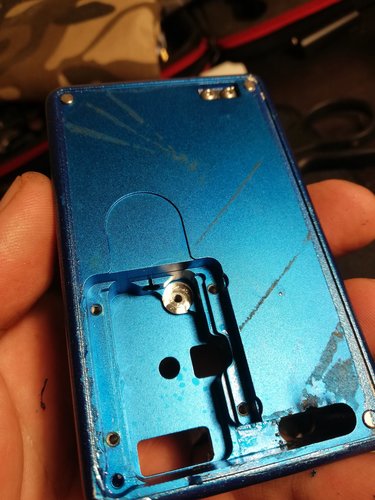
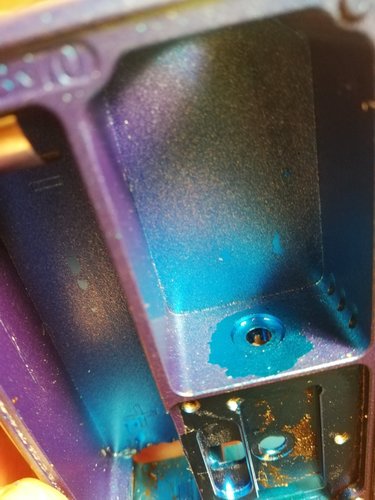
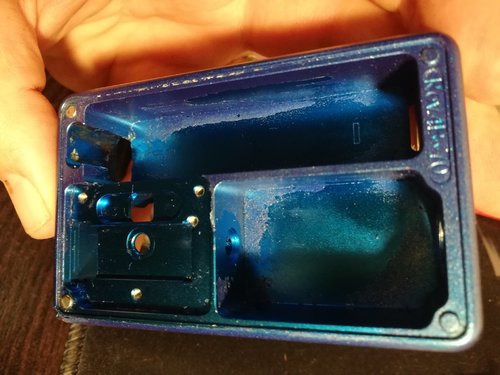
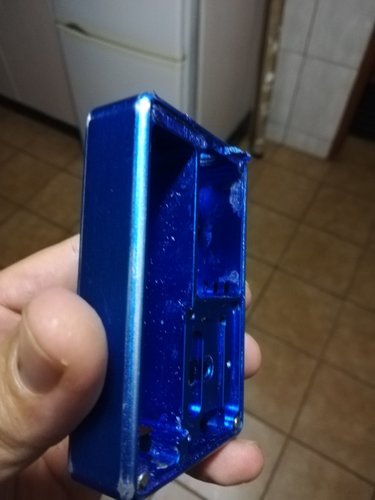
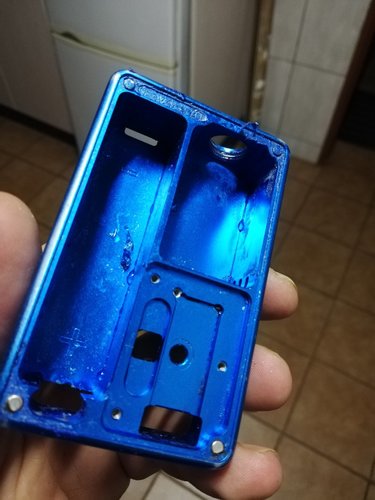
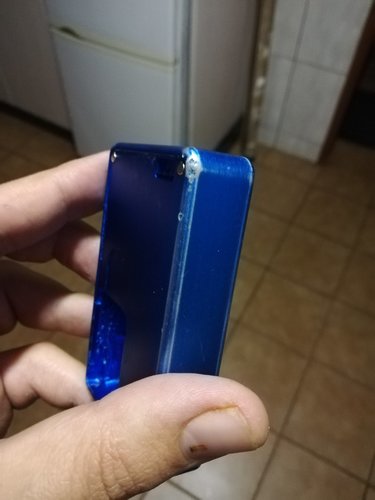
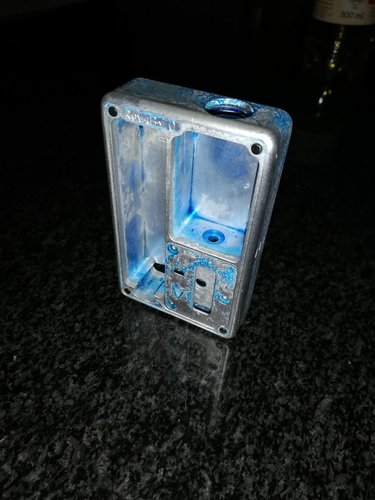
I have never been more happy to receive a broken/dead SXK Billet Box! Yesterday was a very emotional day for me and I decided to get into this project to help keep my mind busy. The "donor" body is a blue anodized SXK BB that somebody tried to revamp by applying some form of glitter spray or nail varnish. It is going to take some time cleaning her, but it will be worth it in the end. This little beauty will be refinished and then be modified to run without the chip, in a permanent bypass mode like a mech mod, but will have a fuse that can be changed. will keep you all posted on her progress.
IMG_20190521_202602.jpg IMG_20190521_202610.jpg IMG_20190521_202616.jpg IMG_20190521_202632.jpg IMG_20190521_203702.jpg
 
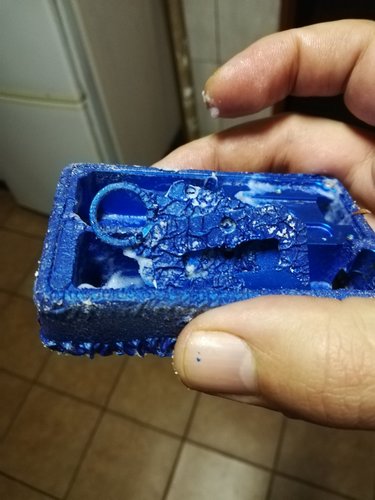
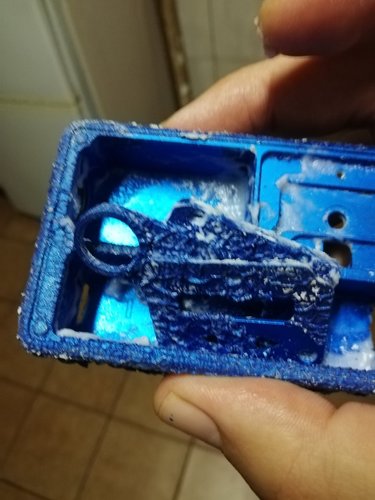
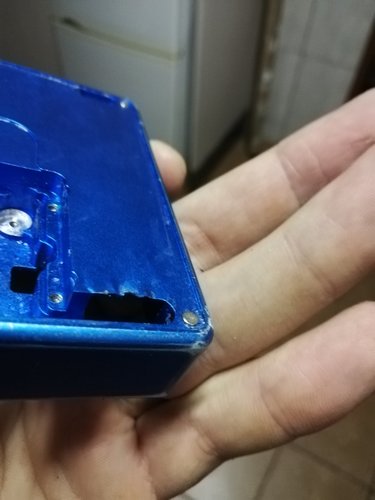
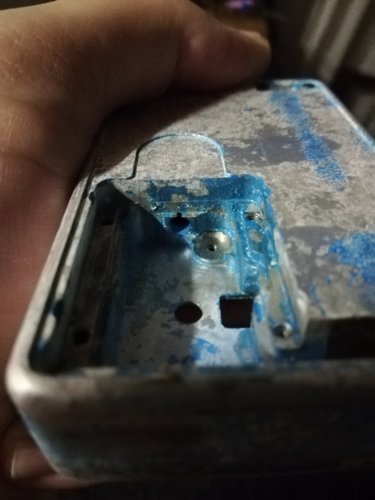
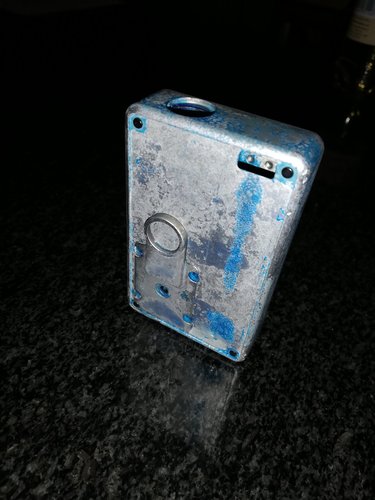
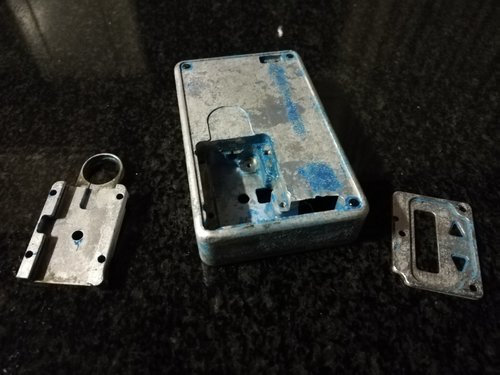
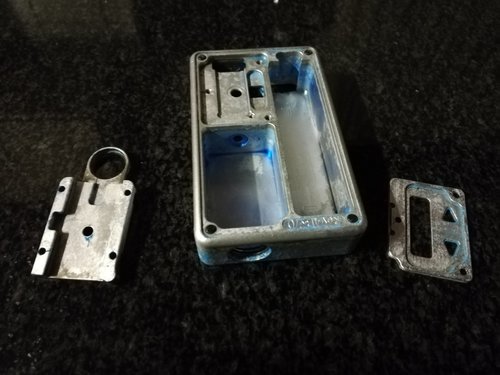
So the glitter paint/nail polish revealed IMG_20190522_190413.jpg IMG_20190522_190418.jpg IMG_20190522_190410.jpg IMG_20190522_190000.jpg IMG_20190522_190004.jpg IMG_20190522_190423.jpg her secrets, a lot of distress to the normal lines of the original anodizing. Not to fear, another spray of paint remover should take the last residue of sparkle away and then we can decide on whether to sand and polish or respray this SXK BB. Some panel beating will also be required for where the positive contact was removed by the previous "modder"
 
So the glitter paint/nail polish revealed View attachment 167076 View attachment 167077 View attachment 167078 View attachment 167079 View attachment 167080 View attachment 167081 her secrets, a lot of distress to the normal lines of the original anodizing. Not to fear, another spray of paint remover should take the last residue of sparkle away and then we can decide on whether to sand and polish or respray this SXK BB. Some panel beating will also be required for where the positive contact was removed by the previous "modder"
And so it begins! Looks like the poor bb needs a lot of love. I would go for sand and polish, just to be different hehe
 
So the glitter paint/nail polish revealed View attachment 167076 View attachment 167077 View attachment 167078 View attachment 167079 View attachment 167080 View attachment 167081 her secrets, a lot of distress to the normal lines of the original anodizing. Not to fear, another spray of paint remover should take the last residue of sparkle away and then we can decide on whether to sand and polish or respray this SXK BB. Some panel beating will also be required for where the positive contact was removed by the previous "modder"
Looking good there @Dela Rey Steyn , hope we will see the end product in its full glory. Been wanting to do something similar, but lack of electronics keeping me back a bit. Really interested in the fuse part!
 
Removing anodizing is a beast of different strokes, not as easy as stripping normal paint. But luckily there is a very good time saver right at hand in most households: Oven Cleaner! Cobra/Zeb High Speed oven cleaner works a real treat! Some more cleaning to be done tomorrow with a brush and aluminum cleaner at work, then she will be all shiny and clean!
IMG_20190523_204238.jpg IMG_20190523_204128.jpg IMG_20190523_204154.jpg IMG_20190523_204205.jpg IMG_20190523_204120.jpg
 
Thanks @Silver, still a bit of elbow grease to go on this to get it done. Then I need to decide on the finish. Do I repaint it? Polish it? Give it a brushed/media blasted finish? Maybe I should create a poll :confundio1:

I was thinking sand/media blasting but whichever way you go with the finish ,it will be different to the normal "BB" finish so it would be good either way
 
Last edited:
Not to be a party pooper but anodising forms part of the aluminium and makes the surface harder. Removing the anodizing as in this case removes a layer of the anodized aluminium and oven cleaner also "eats" aluminium explaining why it removes anodizing. The surface will most probably be weakened and will possibly be pitted from the oven cleaner.
 
Back
Top