The Lemo 2 has landed - and it's awesome 
What seems like a lifetime ago (it was November 2014), I posted a review on the Eleaf Lemo - I loved it then, and I still do. I still use it to this day. It's definitely proved its worth to me many times over for quality, simplicity, and just a darn good vape all around
And now, 5 months on, I finally got my hands on one of my most anticipated RTAs, the Eleaf Lemo 2. And it's a goodie, once again
I don't do nearly enough hardware reviews but since I did the first one, I'm back for another round
I'll do it the same as the previous one (two posts, with my thoughts at the end of the second post) - so without further ado, here we go
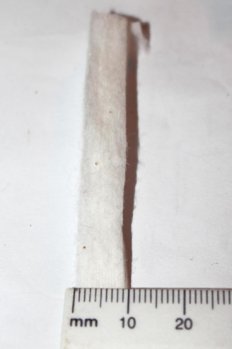
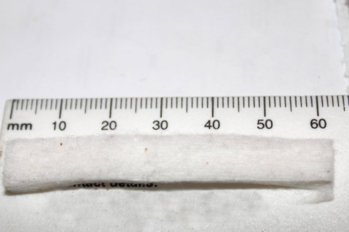
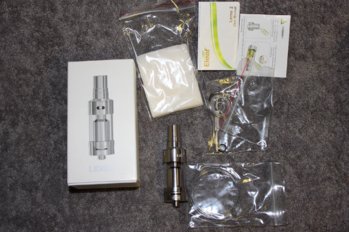
Included in the box is all the usual suspects - however, unlike the original, this one now ships with 2x pads of Japanese cotton The rest are spare o-rings and seals, some wire (unknown type/origin), and a screwdriver. No spare glass tank unfortunately
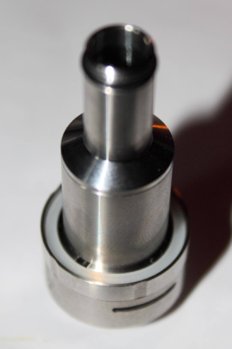
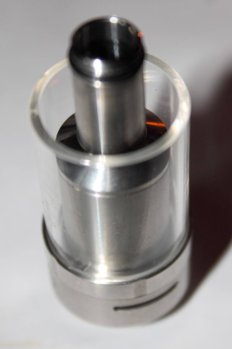
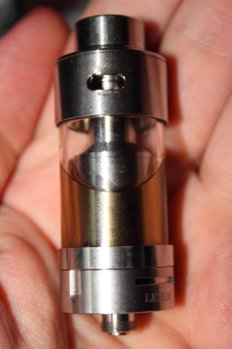
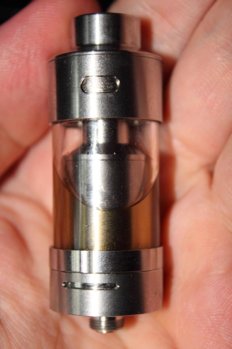
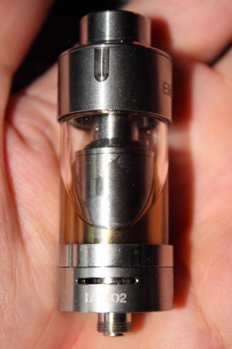
Some views of the tank...it's quite good looking IMO - note that there are two airflow slits, one on each side
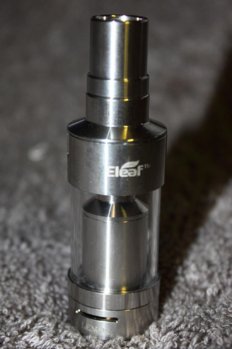
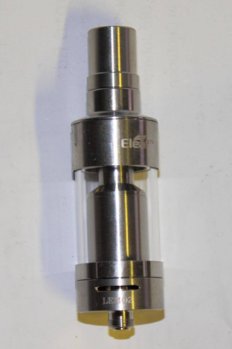
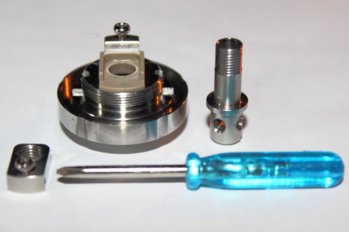
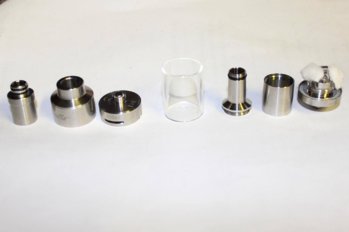
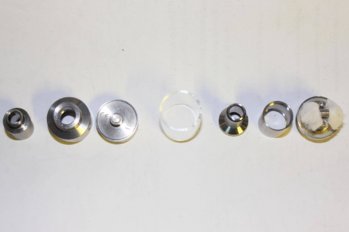
And here it is disassembled (except for the RBA section - see the second post for that)
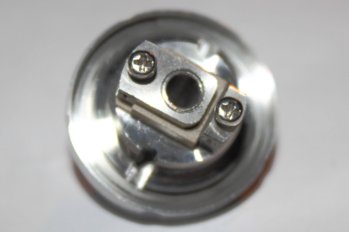
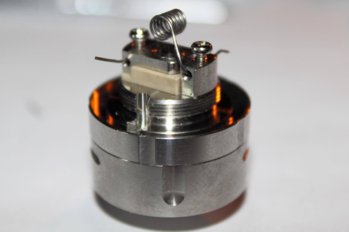
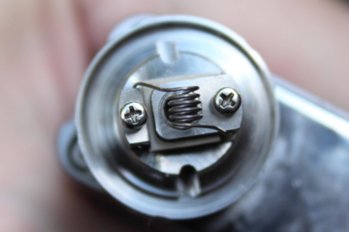
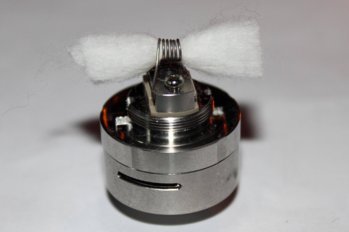
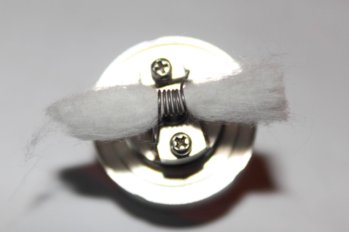
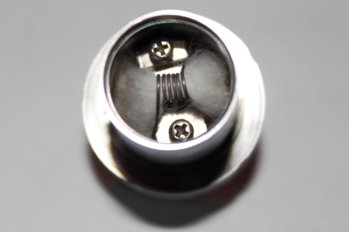
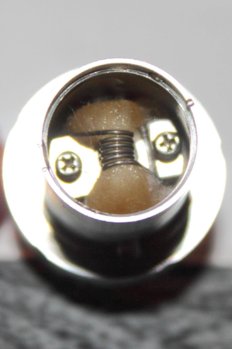
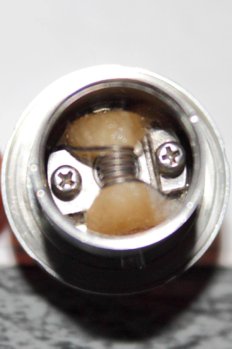
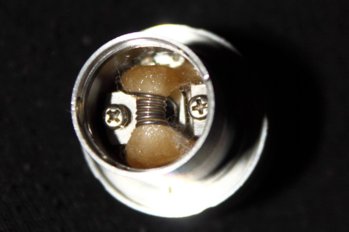
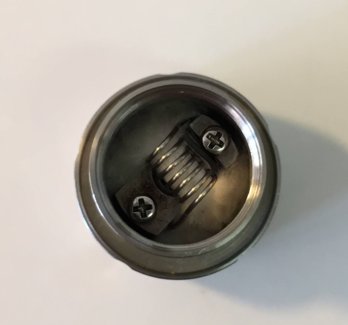
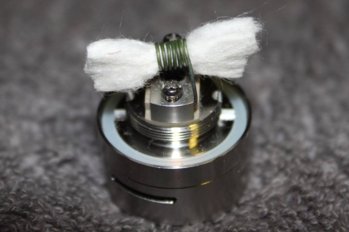
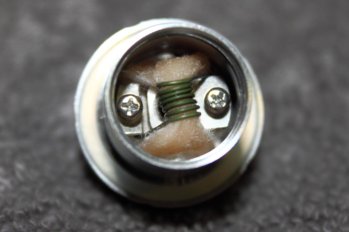
Some closeups of the RBA deck with the factory installed coil (a 0.55 Ohm on mine). The cotton was a bit much for my tastes so I yanked it out
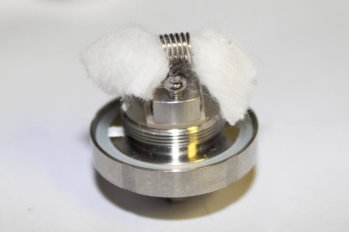
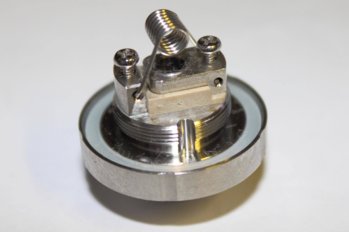
This is the bottom of the RBA section, which shows the airflow holes that lead up to the hole below the coil - there are 4 holes of that size (one on each side) so there's good airflow. These can probably be drilled a bit larger if desired
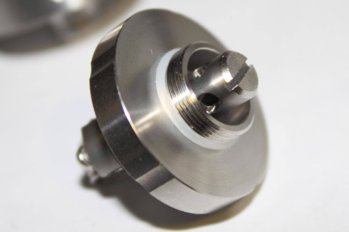
This is the base part which the RBA section (above) screws into - the airflow is also on this part. This was the only part that was noticeably dirty, as can be seen in the picture - not sure what it was all about, but I'd strongly advise a "strip and dip" before use
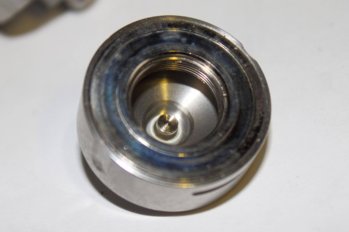
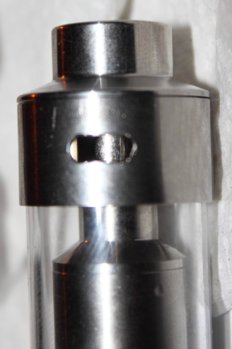
And this is the top cap (above the glass) with the new fill hole - the outer section slides to open/close the fill hole. Notice in the second image how "deep" the top cap is - this hides quite a bit of the liquid in the tank after filling. And it doesn't leak because you fill it on it's side and close the hole before turning it right side up - there's a picture in the box It's a nice big fill hole and I've even used droppers to fill it with no spilling (just a bit of juice where the dropper makes contact).
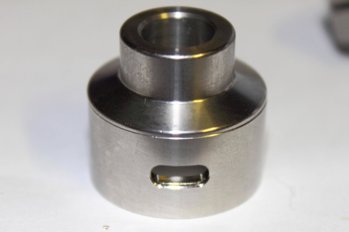
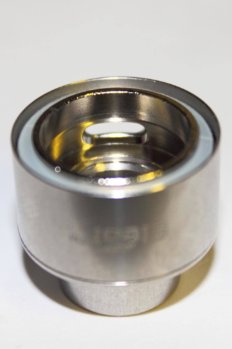
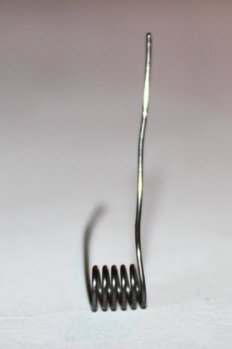
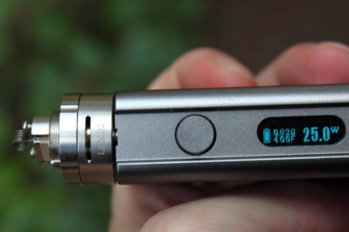
The installed coil read a resistance of 0.55 Ohms
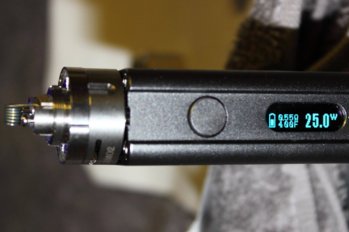
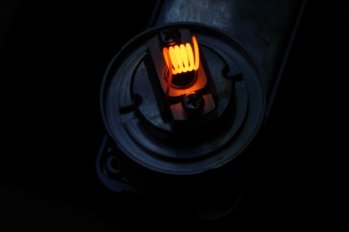
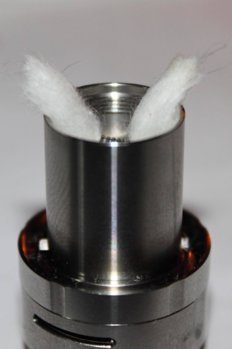
Before rebuilding I gave the factory coil a go, just adding my own wick to it - I'll go into more detail in the second post (when I rebuild) - standard stuff though, no different from the original Lemo
Filled up - just a test fill because I was skeptical about the coil
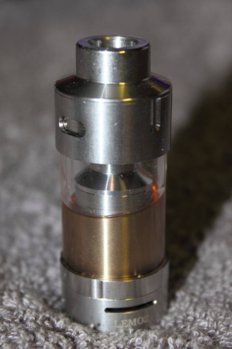
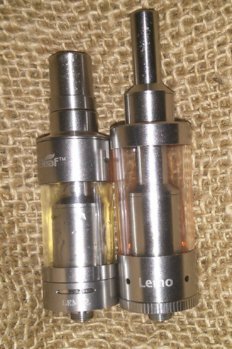
And finally, a comparison shot of the Lemo 2 (left) and the original Lemo (right) - the Lemo 2 is considerably smaller (even 22mm vs 23mm in diameter) - and, in my option, a much better looking device
The included coil fared pretty well, much better than the one included with the original Lemo, but I was very eager to rebuild it so I just yanked it out and got down to business
To be continued...
What seems like a lifetime ago (it was November 2014), I posted a review on the Eleaf Lemo - I loved it then, and I still do. I still use it to this day. It's definitely proved its worth to me many times over for quality, simplicity, and just a darn good vape all around
And now, 5 months on, I finally got my hands on one of my most anticipated RTAs, the Eleaf Lemo 2. And it's a goodie, once again
I don't do nearly enough hardware reviews but since I did the first one, I'm back for another round
I'll do it the same as the previous one (two posts, with my thoughts at the end of the second post) - so without further ado, here we go
Included in the box is all the usual suspects - however, unlike the original, this one now ships with 2x pads of Japanese cotton

Some views of the tank...it's quite good looking IMO - note that there are two airflow slits, one on each side


And here it is disassembled (except for the RBA section - see the second post for that)


Some closeups of the RBA deck with the factory installed coil (a 0.55 Ohm on mine). The cotton was a bit much for my tastes so I yanked it out


This is the bottom of the RBA section, which shows the airflow holes that lead up to the hole below the coil - there are 4 holes of that size (one on each side) so there's good airflow. These can probably be drilled a bit larger if desired

This is the base part which the RBA section (above) screws into - the airflow is also on this part. This was the only part that was noticeably dirty, as can be seen in the picture - not sure what it was all about, but I'd strongly advise a "strip and dip" before use

And this is the top cap (above the glass) with the new fill hole - the outer section slides to open/close the fill hole. Notice in the second image how "deep" the top cap is - this hides quite a bit of the liquid in the tank after filling. And it doesn't leak because you fill it on it's side and close the hole before turning it right side up - there's a picture in the box


The installed coil read a resistance of 0.55 Ohms

Before rebuilding I gave the factory coil a go, just adding my own wick to it - I'll go into more detail in the second post (when I rebuild) - standard stuff though, no different from the original Lemo


Filled up - just a test fill because I was skeptical about the coil

And finally, a comparison shot of the Lemo 2 (left) and the original Lemo (right) - the Lemo 2 is considerably smaller (even 22mm vs 23mm in diameter) - and, in my option, a much better looking device

The included coil fared pretty well, much better than the one included with the original Lemo, but I was very eager to rebuild it so I just yanked it out and got down to business
To be continued...


