[edit]
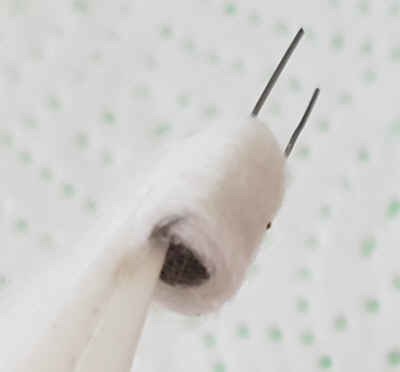
I like the Cubis and Cubis Pro tanks for their 100% leak proof design, but the spitback from the stock coils drove me mad. I recoiled and wicked a few stock coils and the difference is HUGE.
Flavour is good, clouds are enough and no irritating spitback.
TBH there were a few rebuilds that gave me spitback (low ohms, high wattage, bigger than 3.5mm ID) but I settled on this....
[end edit]
I have tried to break this down into a simple step by step guide so hopefully it will make sense to anyone who wants to try this.
This will work on the new coils with the slots on the side and with the old coils.
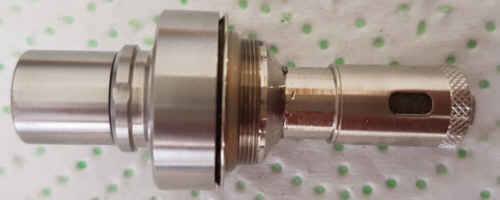
Cubis and Cubis ProWithout getting into too much detail on the principle of operation of a coil this is basically what they all entail.
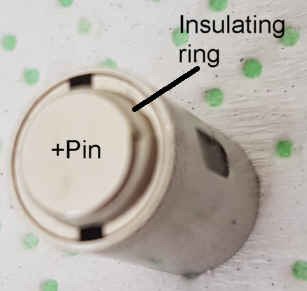
A positive (+) pin and a negative(-) pin with an insulator separating the two. All the stock coils I have done are the same. The positive pin at the end and the body of the coil is the negative.
I mention this because it will come into play a little later.
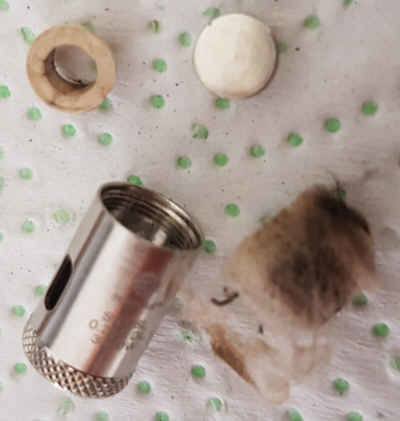
OK first get rid of the wire mesh inside the coil.
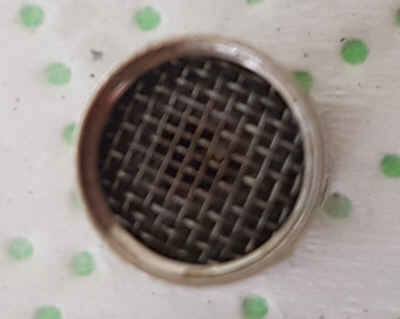
It can be removed with any small sharp object, just pick it up and out. This is supposed to help with spit back but for me it serves no purpose. I have used it and not used it and it makes no difference.
Next remove the positive pin and insulating ring.
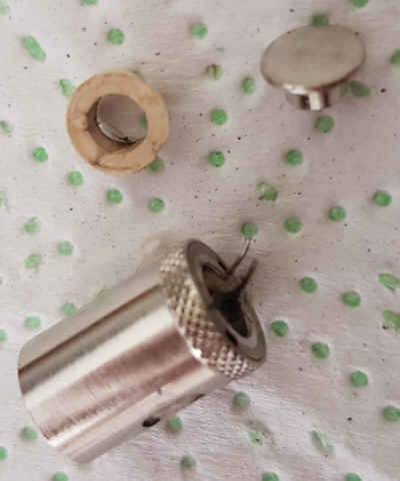
They will both pull off quite easily.
You will see the two ends of the coil. Lift those up and push out the insides from the back towards the front where you removed the wire mesh. Sometimes it will be quite tight but just get in there and force it out. You can also pull on the wire ends from the back. It doesn’t matter if you mess up the insides you will throw it all away anyway.
Cut a piece of cotton about half the width of the coil casing.
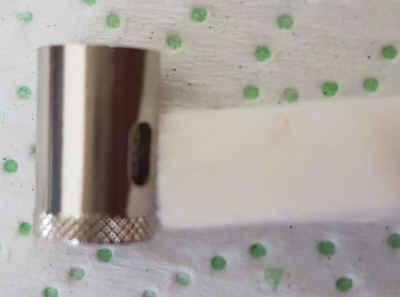
Split that cut piece in half , you will only use the one half
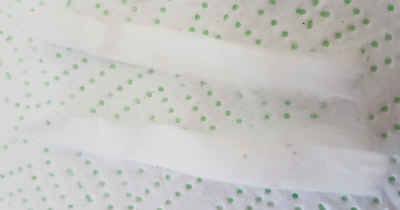
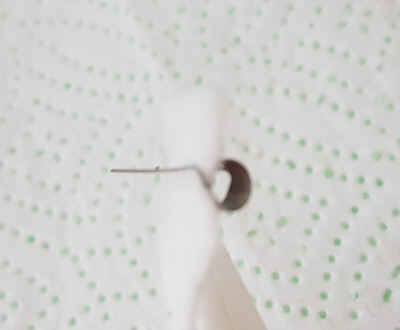
This is the tricky and most important part. You are going to wrap this cotton around the coil a few times, but the first wrap must go under the leg that runs down alongside the coil. This will insulate that leg from the coil windings. The second wrap will go over that leg.
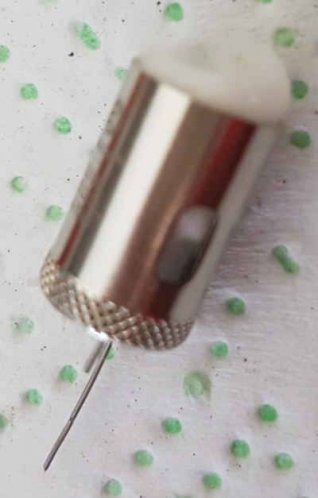
Now you can clean up the top with a scissors. Cut all the cotton flush with the top of the coil winding. (Don’t cut your nice new coil)
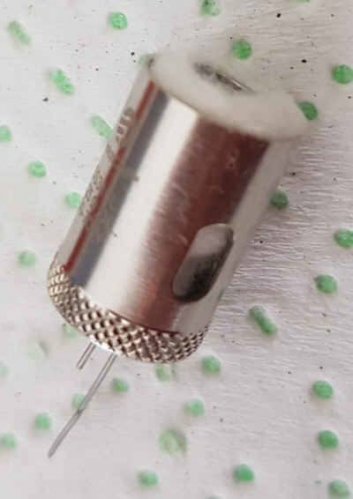
Once the top is trimmed nice and clean push it further into the housing. You want to cover the slots on the side and have the top opening free. If it is an older type coil with no slots then just make sure the top opening is free.
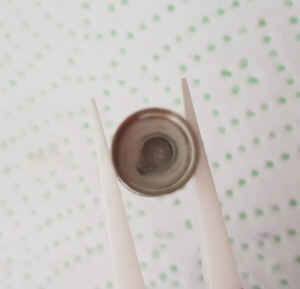
Don’t worry about the cotton at the bottom of the coil, it must be there for the bottom juice flow holes, the top is important. This top opening must be clear. It is how the Cubis tank air flow works. If you jam the top up with cotton or your cotton is too high you will have no air flow.
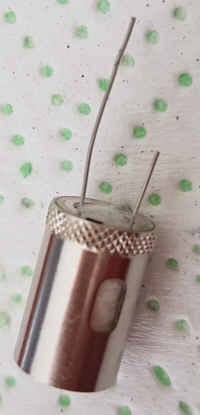
Now remembering which is your negative leg, bend it over the base of the coil and put the insulating ring on.
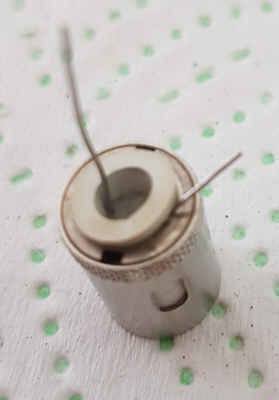
Bend the positive leg over the insulating ring and push the positive stud in.
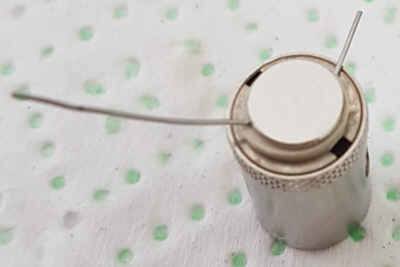
Cut the extra bits off as flush as you can.
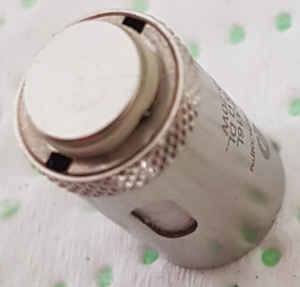
Test to make sure everything is fine before you use it for the first time.
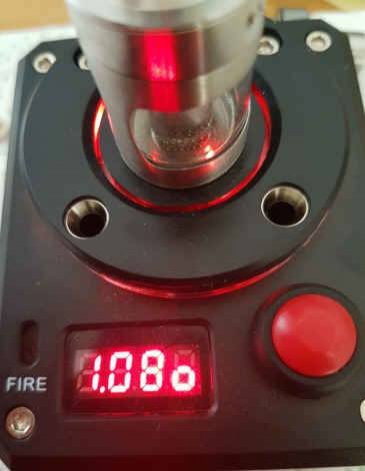
If all goes well prime the coil as per normal and you good to go.
Most of the other stock coils are basically the same, the Cubis is just a bit smaller than most others and less to take apart, but the principle is the same. With bottom airflow tanks the coil inner diameter plays a big part.
I like the Cubis and Cubis Pro tanks for their 100% leak proof design, but the spitback from the stock coils drove me mad. I recoiled and wicked a few stock coils and the difference is HUGE.
Flavour is good, clouds are enough and no irritating spitback.
TBH there were a few rebuilds that gave me spitback (low ohms, high wattage, bigger than 3.5mm ID) but I settled on this....
[end edit]
I have tried to break this down into a simple step by step guide so hopefully it will make sense to anyone who wants to try this.
This will work on the new coils with the slots on the side and with the old coils.
Cubis and Cubis Pro

A positive (+) pin and a negative(-) pin with an insulator separating the two. All the stock coils I have done are the same. The positive pin at the end and the body of the coil is the negative.
I mention this because it will come into play a little later.
OK first get rid of the wire mesh inside the coil.

It can be removed with any small sharp object, just pick it up and out. This is supposed to help with spit back but for me it serves no purpose. I have used it and not used it and it makes no difference.
Next remove the positive pin and insulating ring.

They will both pull off quite easily.
You will see the two ends of the coil. Lift those up and push out the insides from the back towards the front where you removed the wire mesh. Sometimes it will be quite tight but just get in there and force it out. You can also pull on the wire ends from the back. It doesn’t matter if you mess up the insides you will throw it all away anyway.
Allthough your cotton and coil will hopefully not be as burnt as this one. You can throw out the cotton and coil.
I normally have a few coils that I am doing at the same time and put all the casings, insulators and positive pins in the ultrasonic for a clean. I will not be cleaning this one for this exercise but it is a good idea to clean everything, even just a hot water wash.
Now you have everything stripped and cleaned its time to make your coil.
This is not a coil building tutorial, there are plenty out there if you need to know how to do this, but let’s just say you can make quite a messy/untidy coil because nobody will see it. It is not going into anything where it will be visible.
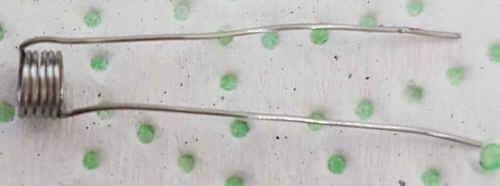
I use 26ga Kanthal A1 with a 3.5mm ID about 6 turns will give you about 1ohm. Just be careful with using anything larger than 26ga, on a Cubis coil anyway. I once used 24ga and the wire is a bit thick for the insulator and it shorted out.
Once you have your coil bend the one side down and the other side down the same direction.
Both legs should be in the same direction.
The leg bending over the top and running down the side of the coil is the negative leg. The other being the positive leg.
At this point,if the legs are the same length, cut one of the legs shorter so you can tell them apart later. I normally cut the negative leg shorter. Don’t know why I cut the positive this time, anyway moving on.
At this point,if the legs are the same length, cut one of the legs shorter so you can tell them apart later. I normally cut the negative leg shorter. Don’t know why I cut the positive this time, anyway moving on.

Cut a piece of cotton about half the width of the coil casing.

Split that cut piece in half , you will only use the one half

Do not wrap too tight as this reduced the wicking. Too loose and it will leak. Just wrap it around with minimal tension. It only takes about two maybe two and half turns and cut the rest off.
Slide your newly made coil into the housing, legs first through the larger opening. Make sure the legs come through the bottom opening and don’t jam up on the bottom ring. If it is too tight then unwrap a little cotton. If it is too loose you didn’t add enough cotton. Do not push it all the way in. Leave it jutting out a bit from the top.
Slide your newly made coil into the housing, legs first through the larger opening. Make sure the legs come through the bottom opening and don’t jam up on the bottom ring. If it is too tight then unwrap a little cotton. If it is too loose you didn’t add enough cotton. Do not push it all the way in. Leave it jutting out a bit from the top.

Now you can clean up the top with a scissors. Cut all the cotton flush with the top of the coil winding. (Don’t cut your nice new coil)

Once the top is trimmed nice and clean push it further into the housing. You want to cover the slots on the side and have the top opening free. If it is an older type coil with no slots then just make sure the top opening is free.

Don’t worry about the cotton at the bottom of the coil, it must be there for the bottom juice flow holes, the top is important. This top opening must be clear. It is how the Cubis tank air flow works. If you jam the top up with cotton or your cotton is too high you will have no air flow.

Now remembering which is your negative leg, bend it over the base of the coil and put the insulating ring on.

Bend the positive leg over the insulating ring and push the positive stud in.

Cut the extra bits off as flush as you can.

Test to make sure everything is fine before you use it for the first time.

If all goes well prime the coil as per normal and you good to go.
Most of the other stock coils are basically the same, the Cubis is just a bit smaller than most others and less to take apart, but the principle is the same. With bottom airflow tanks the coil inner diameter plays a big part.
Last edited:


