Weekend Projects

I use a program called ZenitPCB, (which is freeware, and does read / produce Gerber files).
Most of the freeware should be able to do what you want tho' if you use one of their their edge connector templates, and then tweak the sizing ;)
After watching a YT vid on custom edge connectors, I took the easy way out and had a chat with the folk at a local pcb spot.
I explained what formats I had and what I wanted and he said I should send a pdf file which was easy enough to do, just hit up an online dxf to pdf converter.
When I received the quote, it was a bit of a shocker to say the least, R2087 , being R350 for 1 layer setup and R300 a pop for the boards, minimum of 5.
Guess Im going to have to try lasering some aluminium tape to see if its viable.

On YouTube there's video's on how to acid etch the boards once you have the design.
 
After watching a YT vid on custom edge connectors, I took the easy way out and had a chat with the folk at a local pcb spot.
I explained what formats I had and what I wanted and he said I should send a pdf file which was easy enough to do, just hit up an online dxf to pdf converter.
When I received the quote, it was a bit of a shocker to say the least, R2087 , being R350 for 1 layer setup and R300 a pop for the boards, minimum of 5.
Guess Im going to have to try lasering some aluminium tape to see if its viable.

That costing looks fair ... the biggest single cost element is setting up and making the positive, (which depending on board complexity would typically be a 2 * larger than your design, black and white image on a piece of clear acetate).
They will charge you for setup to whatever their standard board size is too, so what I try to do, is stack a few projects together to get a cost effective end result, as then I only pay for one setup and get three of four prototypes with one or two pcb's per project.
The other alternatives are;

* Make the acetate positive yourself by using a laser printer and printing at 2* size and then use Mantech or Communica to do a one off, (which will still be a few hundred rands per PCB, but a bit cheaper than what you've been quoted), or;

* Make an actual size acetate image using a clear acetate sheet on your lazer printer, and getting a product called "Potitiv20" from Mantech or Communica, along with a powerful UV light, some plastic containers and the chemicals required to do the resist exposure as well as the actual etching, namely Sodium Hydroxide, (Caustic Soda), to use as the acetate resist etching post exposure to UV, followed by either Nitric Acid or Ferric Chloride for the actual PCB etching, and .... some clothing, eye and hand protection or;

* Have either a PCB or piece of thinnish metal lazer cut or lazer etched, which is probably the cheapest alternative for a "one of" design such as you seek.;)
 
On YouTube there's video's on how to acid etch the boards once you have the design.

That costing looks fair ... the biggest single cost element is setting up and making the positive, (which depending on board complexity would typically be a 2 * larger than your design, black and white image on a piece of clear acetate).
They will charge you for setup to whatever their standard board size is too, so what I try to do, is stack a few projects together to get a cost effective end result, as then I only pay for one setup and get three of four prototypes with one or two pcb's per project.
The other alternatives are;

* Make the acetate positive yourself by using a laser printer and printing at 2* size and then use Mantech or Communica to do a one off, (which will still be a few hundred rands per PCB, but a bit cheaper than what you've been quoted), or;

* Make an actual size acetate image using a clear acetate sheet on your lazer printer, and getting a product called "Potitiv20" from Mantech or Communica, along with a powerful UV light, some plastic containers and the chemicals required to do the resist exposure as well as the actual etching, namely Sodium Hydroxide, (Caustic Soda), to use as the acetate resist etching post exposure to UV, followed by either Nitric Acid or Ferric Chloride for the actual PCB etching, and .... some clothing, eye and hand protection or;

* Have either a PCB or piece of thinnish metal lazer cut or lazer etched, which is probably the cheapest alternative for a "one of" design such as you seek.;)
I'm very dubious about using etch, my attempts in the past havent yielded clean straight edges, they have a lot of undercut and wavy edges if left in long enough to eat through the layer.
Thanks all the same for the info @Intuthu Kagesi it will probably be my last resort. First I'll try laser on Al tape on perspex strip, if that doesnt work, it will probably be cnc routed with a V bit on copper clad FR4.

I guess you could try routing it with a tiny v-bit :wondering: ... I excluded it as a suggestion above only because of the material thickness, (or thinness in this case :rolleyes:)
As to the fine edges on etching ... they key is a stronger acid with a shorter exposure time ;) .... ie. for PCB's / copper, use Nitric acid as apposed Ferric Chloride ;)
 
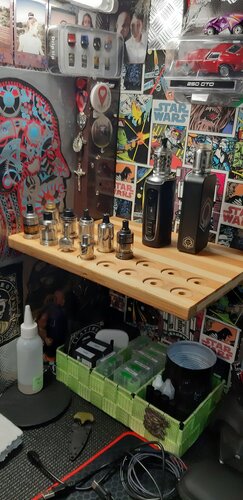
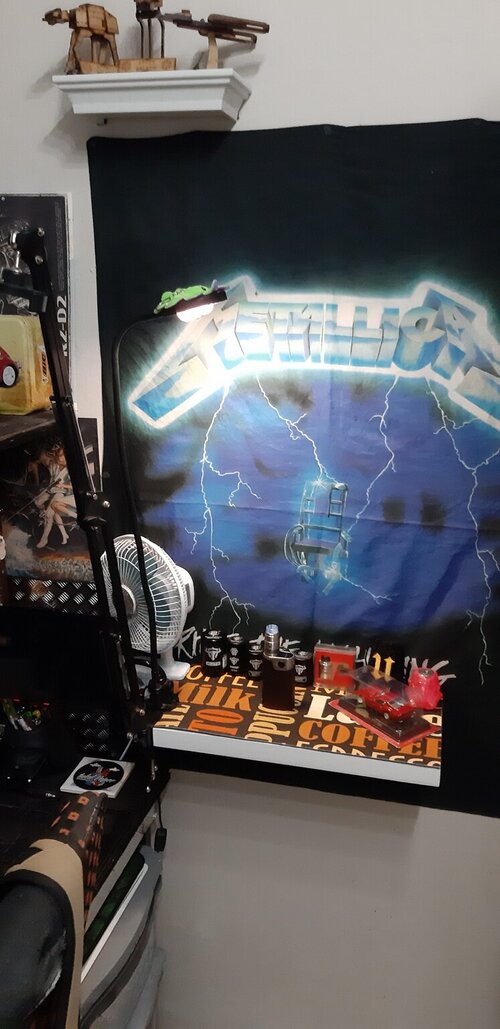
New tank and mod shelve installed on my desk.

20211226_175924.jpg

To free up space on the top shelve for a new growing collection...

20211225_205001.jpg
 
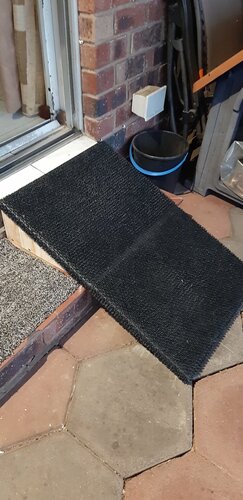
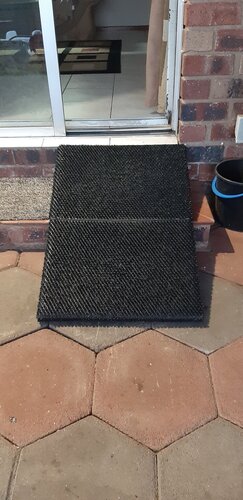
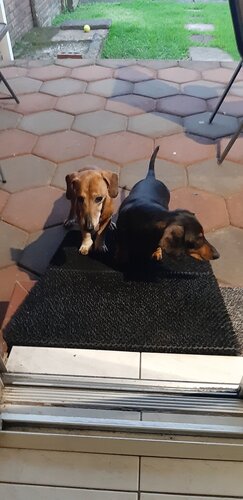
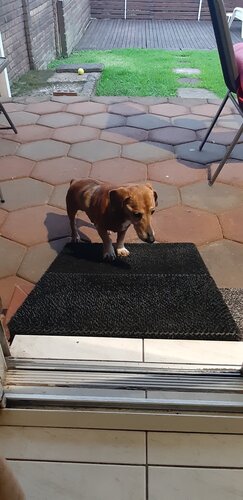
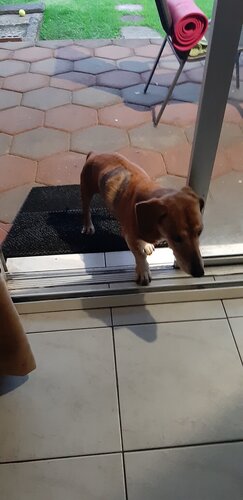
Built a ramp for my old boy to get in and out, he can't manage the steps anymore due to arthritis...

20220109_190430.jpg 20220109_190419.jpg 20220109_190328.jpg 20220109_190340.jpg 20220109_190355.jpg
 
So here is a project I am busy with for my BB. I took the leap and stripped the thing down. My plan is to get it anodized in a deep blue and get the button plate done in a silver color. I took a drive out to Astro Anodizing in Sebenza today but they could not help me as the magnets that are attached to the frame are still in place. Good news is they have the color scheme I want and can do it for relatively cheap once the magnets have been removed. Now the mission begins by trying to get these things out. I have tried soaking them in Acetone thinking they are glued down, I have heated it up with a hairdryer and the tip of the soldering iron but still they will not budge.
I'm not to concerned about damaging them as they are relatively cheap to replace. Has anyone perhaps done something similar? My next step is to try drill them out.
Did you ever manage to get the magnets out?

I got a cthulu AIO recently and one of the magnets was installed at the factory "backwards" so it pushes the door, instead of holding it.

I am battling with a way to get it out and was considering an attempt at drilling it out. I have a center punch too, so wouldn't mind breaking it out either.
Try heating it with a soldering iron to see if the glue will break. Remember if you overheat too much it might end up as scrap
 
Try heating it with a soldering iron to see if the glue will break. Remember if you overheat too much it might end up as scrap
The only thing I'm worried about is damaging the mod. I even considered totally dismantling the thing before attempting to remove the magnet.
 
Yip. I had to drill the magnets out. There is no glue that holds them in, they are press fitted. If the magnet is backwards, can you not change the one on the door? Might be safer than heating or drilling on the mod.
Remember magnets are very strong and you will need diamond tip bits to drill it out.


Sent from my vivo 2006 using Tapatalk
 
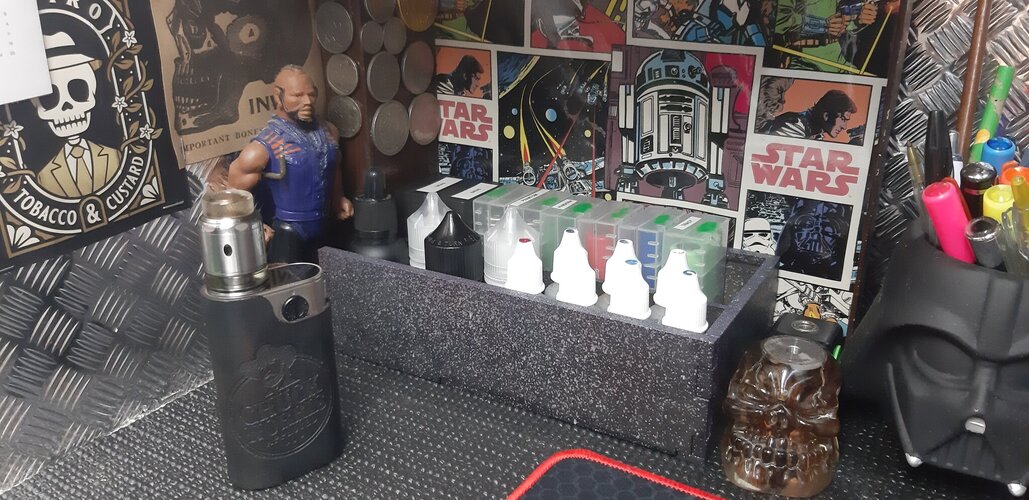
Sorted out the juice clutter on the desk by spray painting a wooden box... B.A. for scale...

20220507_195749.jpg
 
New shelve for the camera arm mount to not have "bouncy" recordings... now to get myself motivated to start recording again...

20220619_170850.jpg
 
Motivation took another turn....

Ingredients:

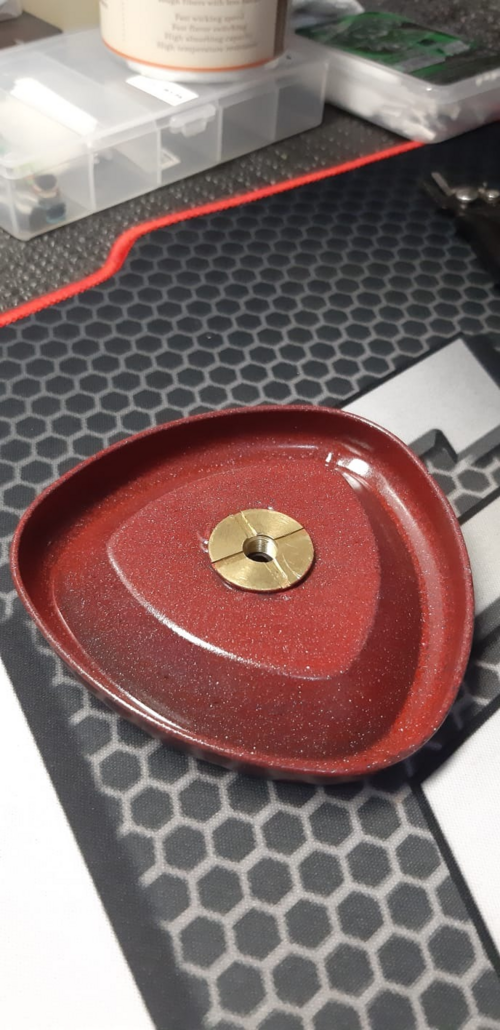
1x Glenfiddich Container Top Cap
1x Old 510 plate
1x 10mm Steel Drill bit
Couple of cans of spray paint
10x Minutes tea break

Result:

1x Build Stand with "tray" for offcut wire and cotton

1655804544388.png


My only regret: not stripping out the bottom cap as well to make another one... oh well, guess I'll have to go buy another bottle of scotch then....
 
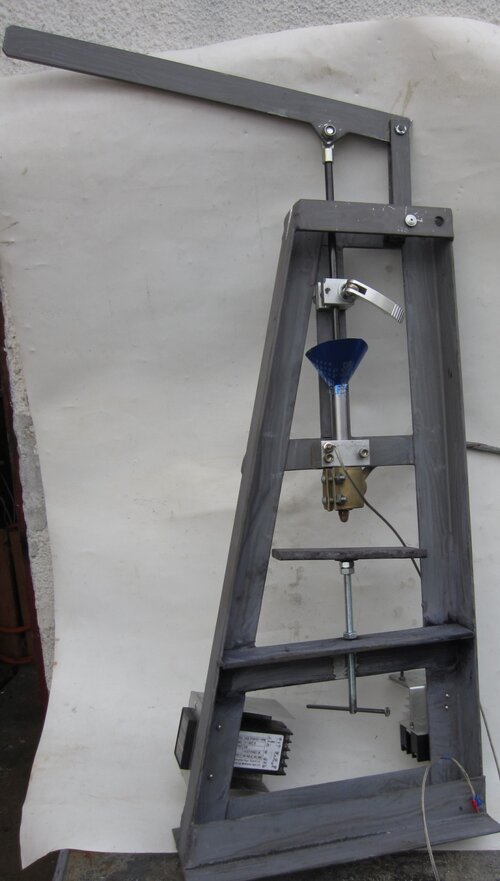
My latest interest of many, plastic injection molder.
Last weekend was welding, this one will be finishing touches and the wiring.
I have plenty failed 3D ABS prints that can now get a 2nd life with injection molding.
overview ecigs.jpg
 
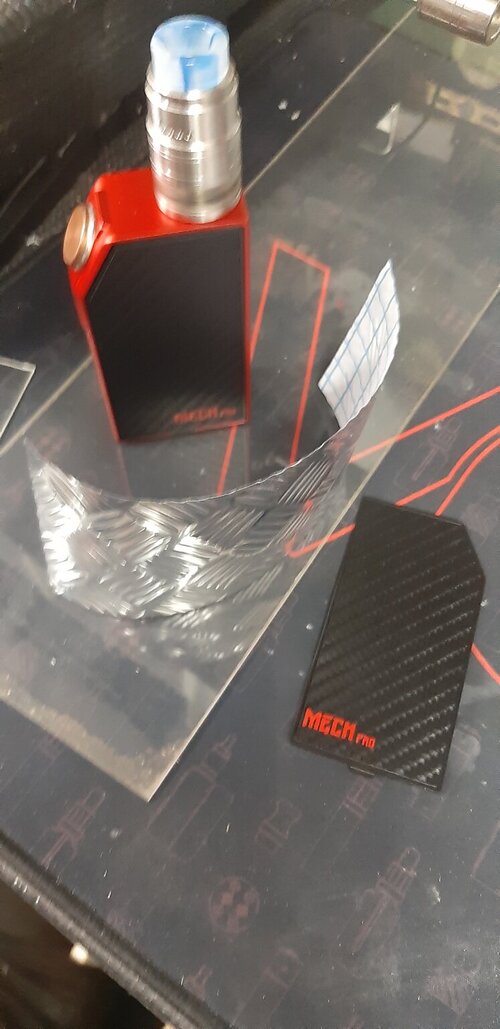
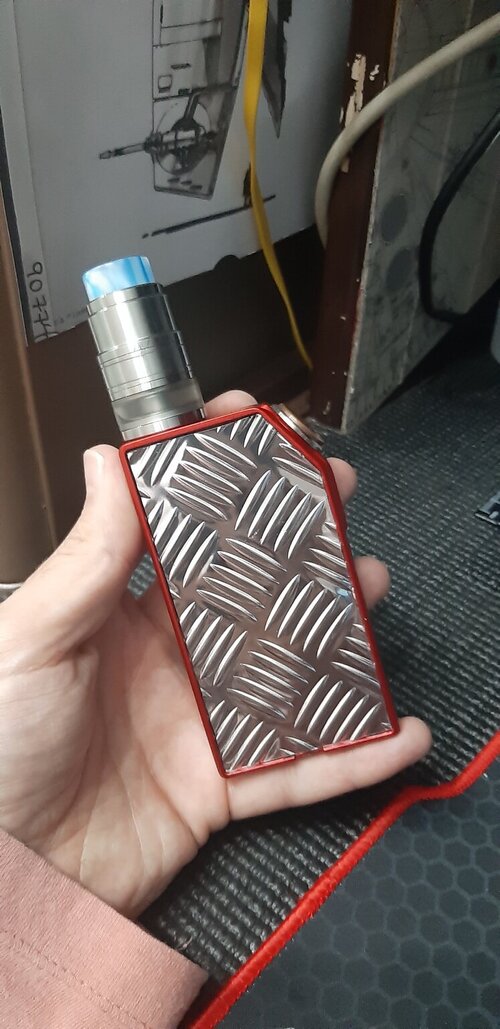
Made some new panels for my GeekVape Pro Mech mod.

Thin perspex, stick on checker plate and off we go.

Got some leftover perspex, will find some other mediums to make more panels.

20220807_122110.jpg

20220807_122658.jpg
 
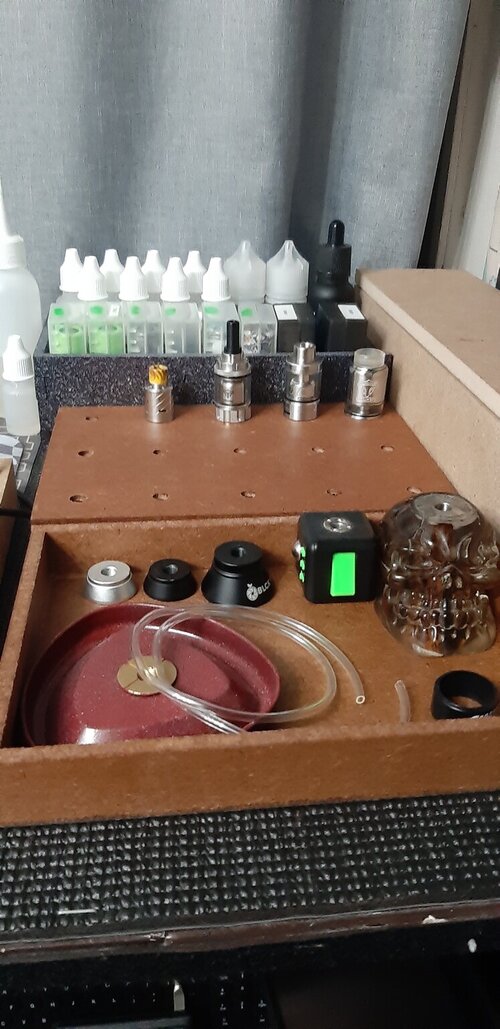
Local PNA has some intersting wooden items, yet everytime I just browse and leave. But not this weekend... found some wooden "trays", added some wood-wax to stain and seal them, drilled a couple of holes in one and tidied up the top shelve a bit. Still got a couple of other items that needs to be converted into something usefull, but that's for another weekend.

20220911_201704.jpg
 
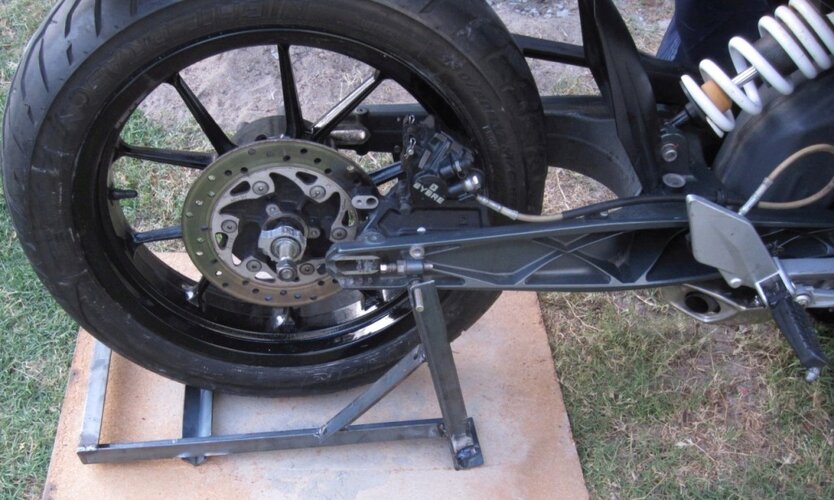
My example of the classic, "if it looks stupid, but it works..."
Paddock stand for my Baby Duke, angle iron (30mm x 3mm x 2m) cost R64, cheapest I've seen them is R750 on Gumtree.

stand2.JPG
 
Back
Top