You could even try Duran paint stripper.
It should also work.
It should also work.
Follow along with the video below to see how to install our site as a web app on your home screen.

Note: this_feature_currently_requires_accessing_site_using_safari
Nope, just a line I cut with a knife to make removing sections easier.
I tried a water based paint stripper last nite and while it works fairly well, it leaves a gummy residue behind that needed a lot of scrubbing with soap to remove.You could even try Duran paint stripper.
It should also work.
I tried a water based paint stripper last nite and while it works fairly well, it leaves a gummy residue behind that needed a lot of scrubbing with soap to remove.
Im concerned that the tile adhesive might not stick to that area now.
I also tried a towel soaked in water to soften the paper bits but it wasn't very effective.
Guess its a trip to CTM for some adhesive remover.
Thanks for the info, I had YT'd lino removal and tried most of the methods.
Best so far is @Resistance suggestion of TFC glue remover, doesnt clean as thoroughly as paint stripper, but theres less leftover residue.
The pong is something else though.
My buksie way of grouting, bigger bottle is for larger areas, dont know if there's a pro tool for the job, but I found the squeegee method very messy with lots of sponging afterwards.
View attachment 232762
Looks good bro.My buksie way of grouting, bigger bottle is for larger areas, dont know if there's a pro tool for the job, but I found the squeegee method very messy with lots of sponging afterwards.
View attachment 232762
I actually meant the grout bottle, like perhaps there's a similar version like a caulking gun.Spackle tool!
Friday project - getting new security sliding gates installed
View attachment 234374
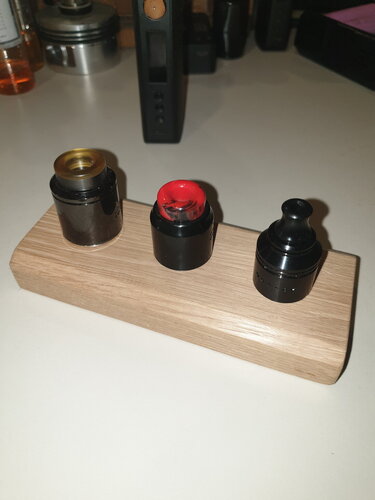
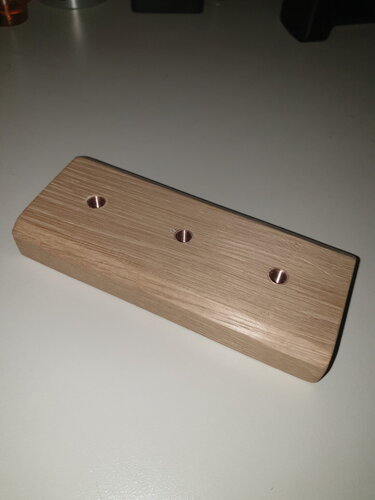
@Intuthu Kagesi where did you get that tap?
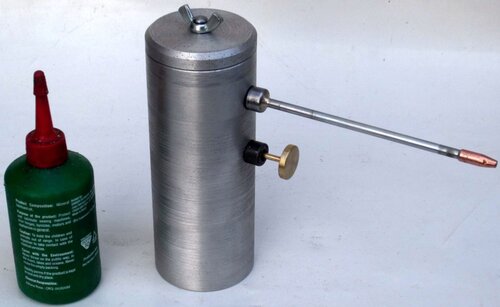
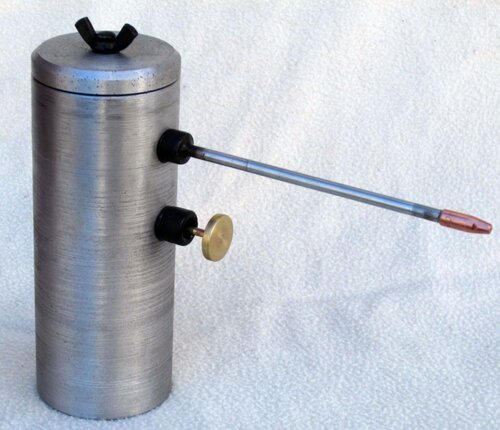
Very impressive!Just finished my Eagle 66 oil can style copy. I wanted something better than the generic plastic squeezer, always looking for the cap.
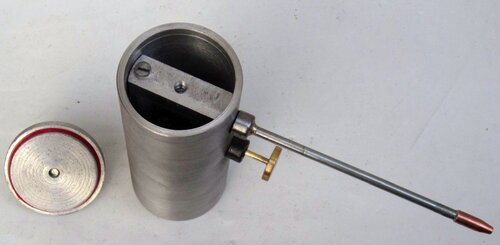
I used 2 black oxide allen screws but the top one lost its oxide when brazing, hence the odd looking 1 black and 1 silver.
Thats a 1.0mm mig tip for the nozzle soldered onto a short section of brake tubing.
View attachment 238477
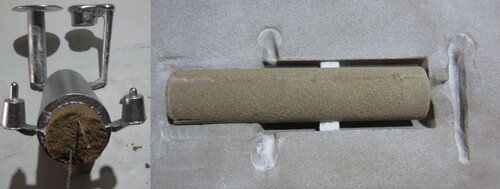
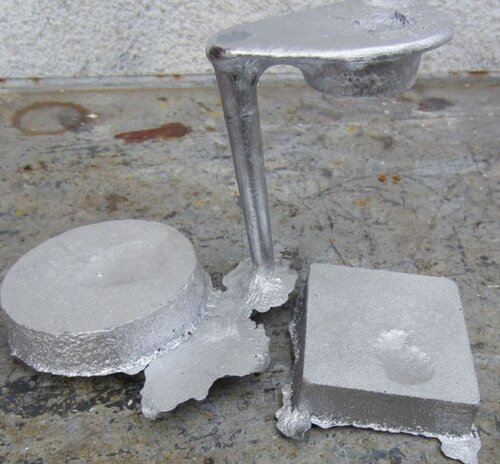
Anyhow, didnt want to buy a full length of 50mm dia Al tubing so I figured I'd just cast everything.
My first foray into sodium silicate sand cores.
View attachment 238476
Something went wrong with the 2nd casting of the cap and valve body, riser didnt get any flow and the result was shrinkage and a swiss cheese like porosity.
View attachment 238478
A view inside of the valve body which uses 2 small bearing balls as the check valves.
View attachment 238479
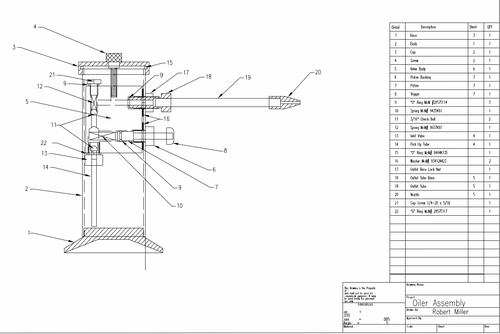
A cut away from the pdf.
View attachment 238480
Just finished my Eagle 66 oil can style copy. I wanted something better than the generic plastic squeezer, always looking for the cap.
I used 2 black oxide allen screws but the top one lost its oxide when brazing, hence the odd looking 1 black and 1 silver.
Thats a 1.0mm mig tip for the nozzle soldered onto a short section of brake tubing.
Looks like I need to take some tips from you ... I want to improve upon the existing interstage cooler / moisture removal on my Bauer CompressorActually forgot about this thread. The latest incarnation of the “Rainmaker”.
View attachment 238491
View attachment 238492
View attachment 238493
View attachment 238494
Regards
The latest incarnation of the “Rainmaker”.