I started with an old iJust2 0.3 ohm coil. I got a pack of 10 Stainless Steel 316L Notch coils from Vape King for R100.
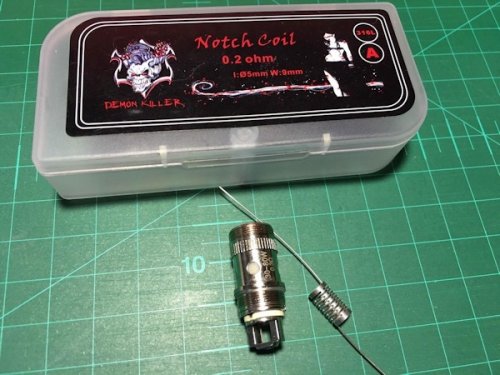
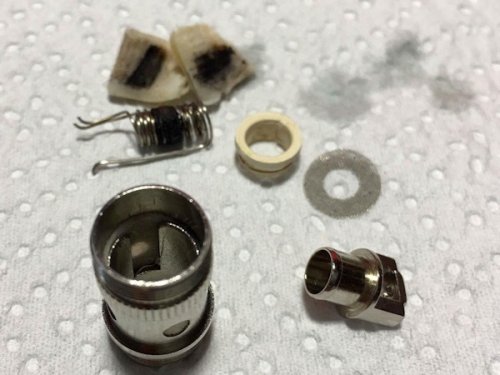
Start by disassembling your old coil and getting all the reusable bits nice and clean. I left the cotton strip in place inside the coil shell.
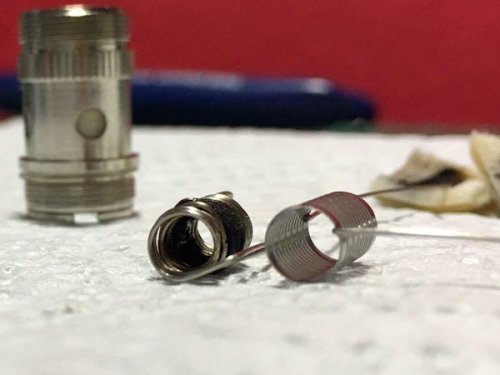
Here is the old coil next to the new Notch coil for size comparison, they are pretty much the same size.
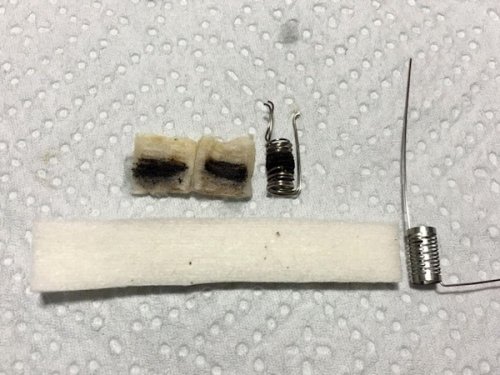
Cut a strip of Koh Gen Doh the same width as the coil, I left the cotton strip in tact, don't remove the outer layers.
Wrap the Jap Cotton around the coil tightly once and bend the one coil leg over to hold the cotton down.
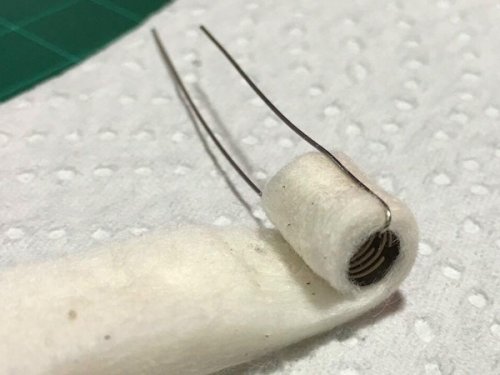
Now one more tight wrap and cut off the excess cotton.
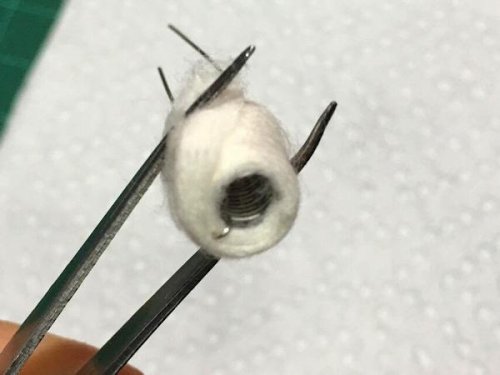
Gently push/shove/tuck the new core into the old shell from the top, legs first.
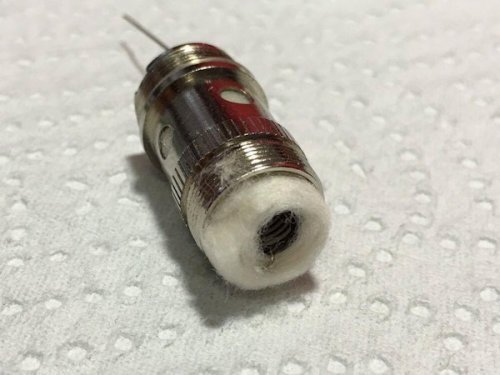
I used my tweezers to persuade it to go in without scrunching up the cotton against the tabs on the inside of the coil shell.
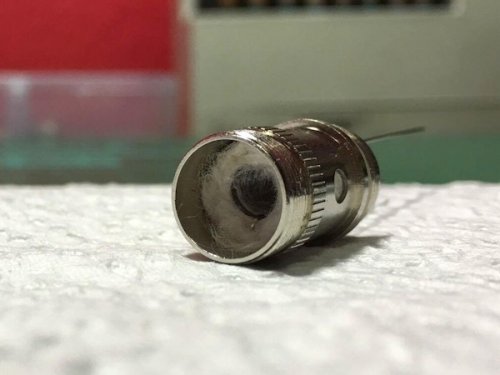
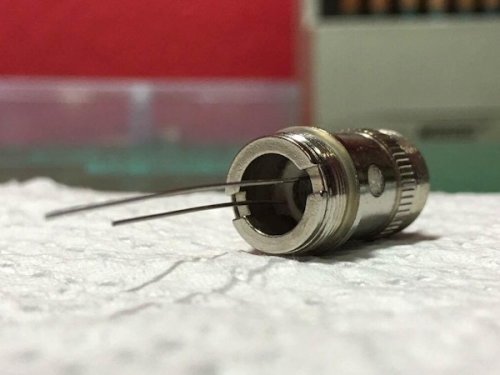
Pop the rubber grommet over the leg that is closest to the middle, the leg that runs close to the side goes on the outside of the grommet.
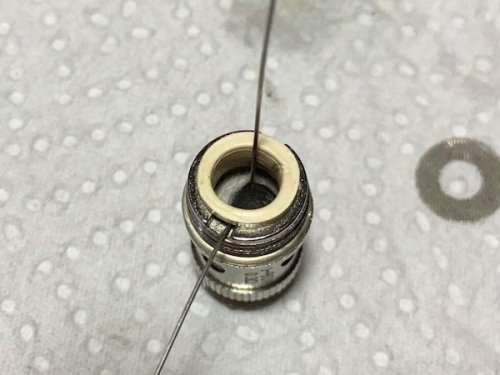
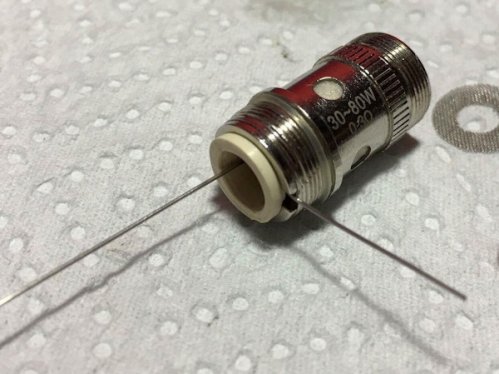
Pop the positive post back on and trim off all the excess wire.
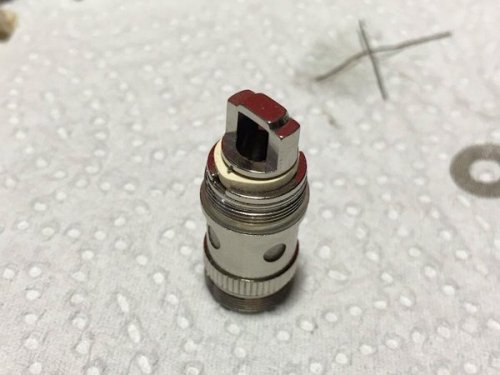
Zap the meshy bit back on nice and snug...
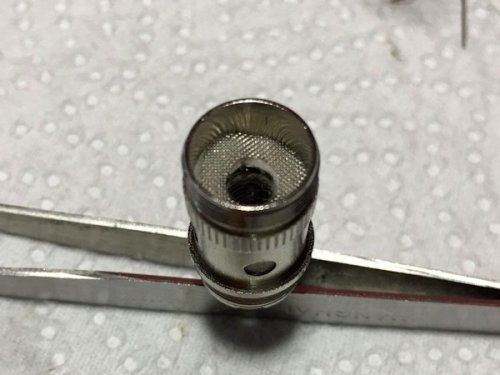
Now check your freshly built coil for errors...
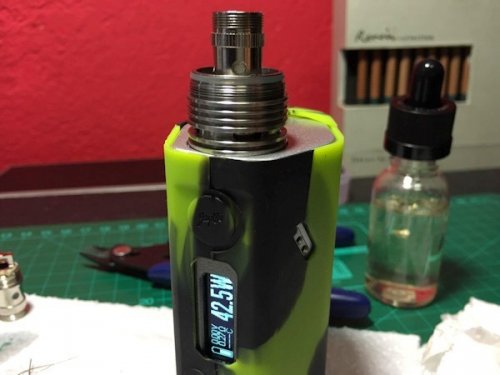
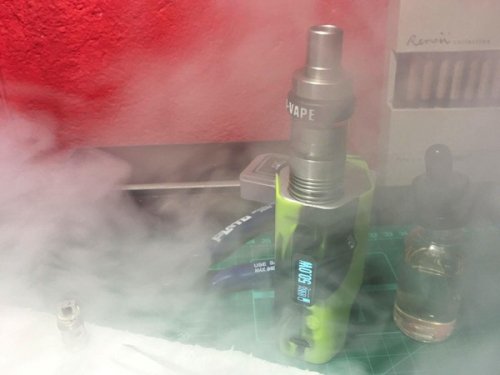
Juice that bad boy up, sit back and marvel at your sheer genius and enjoy your new iNotch2 Coil

Start by disassembling your old coil and getting all the reusable bits nice and clean. I left the cotton strip in place inside the coil shell.

Here is the old coil next to the new Notch coil for size comparison, they are pretty much the same size.

Cut a strip of Koh Gen Doh the same width as the coil, I left the cotton strip in tact, don't remove the outer layers.

Wrap the Jap Cotton around the coil tightly once and bend the one coil leg over to hold the cotton down.

Now one more tight wrap and cut off the excess cotton.

Gently push/shove/tuck the new core into the old shell from the top, legs first.

I used my tweezers to persuade it to go in without scrunching up the cotton against the tabs on the inside of the coil shell.


Pop the rubber grommet over the leg that is closest to the middle, the leg that runs close to the side goes on the outside of the grommet.


Pop the positive post back on and trim off all the excess wire.

Zap the meshy bit back on nice and snug...

Now check your freshly built coil for errors...

Juice that bad boy up, sit back and marvel at your sheer genius and enjoy your new iNotch2 Coil


