Silvers ESG Skyline Experience

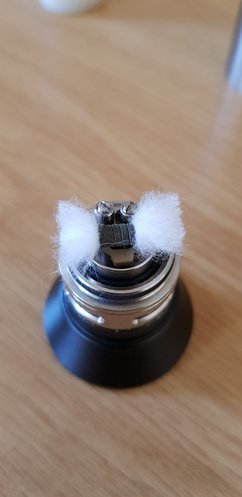
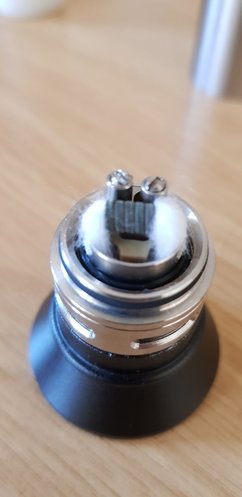
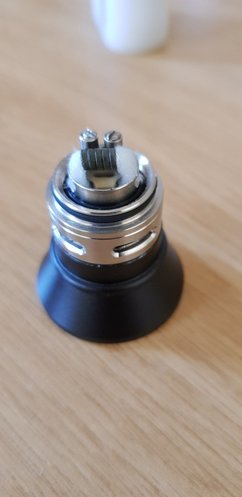
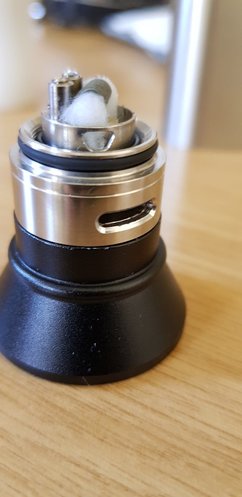
Just paging @Christos, @Rob Fisher , @Amir - and any other Skyline users...

My feeling is that you stretch it slightly and push it right down to the bottom? Below the juice wicking holes?

Or does it go into the inside of the chimney part on the top inside in the chimney? I doubt that though...
 
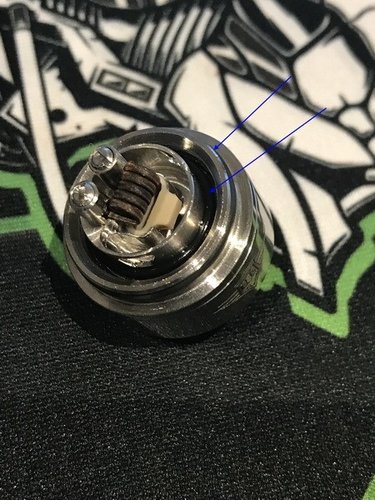
I think i figured out where that o-ring goes

Lol, you won't believe what happened

I did a search on Google for "position of o-rings on ESG Skyline"
And in the pictures I see this picture that looks like a close-up of a build deck with what appears to be that o-ring - so I click on it, then "visit page" thinking - ah, I will go find what a good deck looks like on someone's Skyline - probably overseas.

Then I see it was my own picture on this thread in an earlier post. Haha

Was this one

imageuploadedbytapatalk1496165573-970623-jpg.96297


So I think that o-ring does go below the juice channels - so when the chimney screws down, it seals it off at the bottom.

Let me try that.

Lol
 
Just paging @Christos, @Rob Fisher , @Amir - and any other Skyline users...

My feeling is that you stretch it slightly and push it right down to the bottom? Below the juice wicking holes?

Or does it go into the inside of the chimney part on the top inside in the chimney? I doubt that though...
Looks like you solved the problem!
 
Thanks guys
Thanks @Christos and @Rob Fisher !

Problem solved
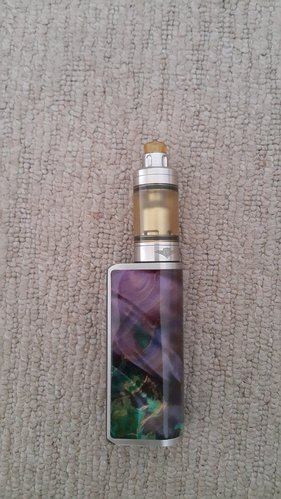
Skyline is operational and working very nicely!

I have that LIT juice inside (its called Side Chick) - with a tiny bit of extra nic and a nice little extra dose of menthol. mmmmm.... its lovely. Pear and Litchi.

ef45dcf70b356b0653c7c6396eaee44e.jpg
 
Hehe, same thing happened to me first time I assembled the Skyline @Silver. Had to Google to make sure where that o-ring fits.
 
Quick question for those with Skylines

So I unscrewed the tank to rewick and while doing all of it I saw this thin black o ring as shown in the pic.

Does anyone know where exactly this o ring must go?

9fc6bf20c597e4b0b4ec577467d31920.jpg

I just make sure it’s around the base of the deck and then when screwing on the top section it sorts itself out.

It’s amazing though what one can do with a little google-foo these days.


Sent from my iPhone using Tapatalk
 
Hehe, same thing happened to me first time I assembled the Skyline @Silver. Had to Google to make sure where that o-ring fits.
It happened to me also and have had no trouble vapeing since with out it.
 
Just another question for the Skyliners

It relates to how the juice flow mechanism lines up with the two juice wick channels

On the one side, the full wick channel is visible

6b94f618fe9b582aad8333cfa60ecf9e.jpg


Yet on the other side only about half of the channel is visible

3dfc9b188c3a2f99d032efbba6376fb1.jpg


I don't think this matters much and the vape is still good. I suppose there is a gap between there so the juice flows in and around anyway.

But am wondering if this is how it looks on your Skyline and if this is the normal way it's supposed to line up?

If so, why would that be the case? Just seems like it would be better if both sides were the same fully exposing the wick channels?

Or am I missing something?

Mine is the same way as yours. I think the juice manages to get in and around the wicking slots unhindered anyhow because when I inspect the coil after continuous vaping, the wick tails and coil are evenly burnt. It does not look as if one tail is feeding faster than the other
 
Mine is the same way as yours. I think the juice manages to get in and around the wicking slots unhindered anyhow because when I inspect the coil after continuous vaping, the wick tails and coil are evenly burnt. It does not look as if one tail is feeding faster than the other

Thanks @Amir
Much appreciated
 
Mine is the same way as yours. I think the juice manages to get in and around the wicking slots unhindered anyhow because when I inspect the coil after continuous vaping, the wick tails and coil are evenly burnt. It does not look as if one tail is feeding faster than the other
Same here.
I've noticed this before bit it's never made a difference to flavour or wicking for me.

I think the way it's designed is to wick irrespective of weather you can see the wick or not.

Speaking of design, the skydrop should be released real soon!

I believe there are 18 different combinations of the skydrop to pick from and the best part is that your deck will be compatible so it's in escence upgrade parts for the rest of the skyline!

From what I gather... these upgrades are a must have even though it’s purely aesthetic because the Vape on the skyline is already perfect.


Sent from my iPhone using Tapatalk
 
I think the skydrops do hold less cause they are almost half the size in height of the original tanks

Sent from my SM-G955F using Tapatalk
 
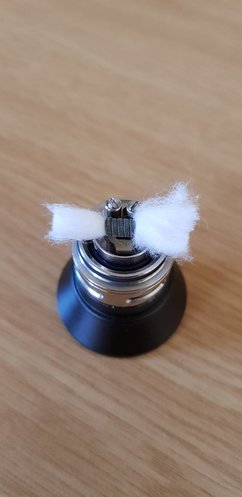
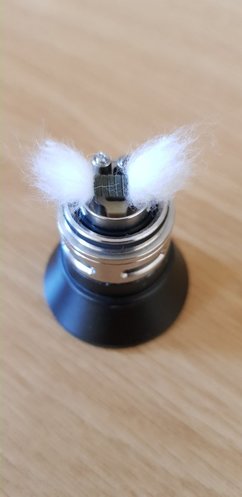
@TheV, I can't remember what thread you asked for a rewick documentation but here it is.

So wicking...20171214_100023.jpg

Thinning out...
20171214_100507.jpg

Cleaning frayed edges...
20171214_100643.jpg

Tucking....
20171214_100735.jpg

Priming...
20171214_101134.jpg
Final result...
20171214_101207.jpg
 
@TheV, I can't remember what thread you asked for a rewick documentation but here it is.

So wicking...View attachment 116255

Thinning out...
View attachment 116256

Cleaning frayed edges...
View attachment 116257

Tucking....
View attachment 116254

Priming...
View attachment 116258
Final result...
View attachment 116259
Thanks for the detailed feedback @Christos! This is very much appreciated.

A quick question, on the final result I can see that the wick does not completely cover the juice hole. Will this not be a problem?
 
I use the same technique as well... It may have been you that helped me with this but I don't remember very accurately...
I can barely
Thanks for the detailed feedback @Christos! This is very much appreciated.

A quick question, on the final result I can see that the wick does not completely cover the juice hole. Will this not be a problem?
Not for me :D so far no leaks.
 
On a bit of a different tack does any one know why the juice holes are not on the centre line. It can be seen in @Christos last pic.
Dave
 
Back
Top