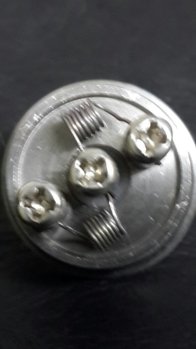
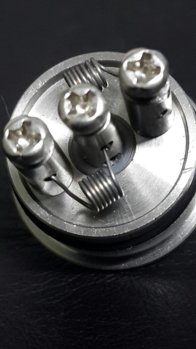
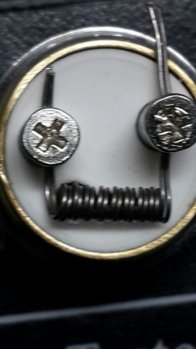
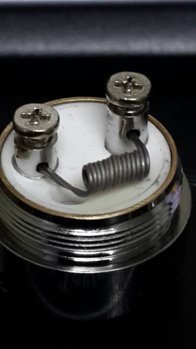
I doubt whether its my imagination, but on flavor rayon doesn't do it for me either @Chef Guest. The best wicking material for my taste buds are: 1'st ceramic (basically impossible to import to SA), 2'nd Ekowool and last; pure cotton.
Navigation
Install the app
How to install the app on iOS
Follow along with the video below to see how to install our site as a web app on your home screen.

Note: this_feature_currently_requires_accessing_site_using_safari
More options
You are using an out of date browser. It may not display this or other websites correctly.
You should upgrade or use an alternative browser.
You should upgrade or use an alternative browser.
The perfect Reo build?
- Thread starter Chef Guest
- Start date
Ok, so I'm not going crazy then. @Rowan Francis has the same opinion as you and I on this. So where could we hustle some ceramic do you think?
Sent from the Dark Side of The Force
Sent from the Dark Side of The Force
What is this ceramic you guys keep talking about, and what does it look like
Apparently it is a rare and powerful talisman used to summon the Gods of flavour and banish the demons of burnt dry cotton hits....
Sent from the Dark Side of The Force
Sent from the Dark Side of The Force
Ok, so I'm not going crazy then. @Rowan Francis has the same opinion as you and I on this. So where could we hustle some ceramic do you think?
Sent from the Dark Side of The Force
We obviously need a USA resident that are willing to purchase Ready-X-Wick from: http://rbasupplies.com/READYxWICK.html and send on small quantity to SA. Note that there is a hefty fine if he/she is caught exporting the stuff.
Lemme ask my aunt Andy...
Sent from the Dark Side of The Force
Sent from the Dark Side of The Force
@Marzuq, if possible, please kindly post a pic of your atomic coil setup. Do you have just a single coil in the atomic?
On another note, @Chef Guest, hows the XBO? Which deal did you get?


@Imthiaz Khan here is the pic as requested. It's a single coil build as my rm2 can only handle single coil
Sent from my SM-N9005 using Tapatalk
Thank you so @MarzuqIs that a RM2? Looks more like an Atomic to me. This is the build I got on my Atomic. 2mm ID with 28g Kanthal, come 0ut to 0.5Ω
View attachment 11876 View attachment 11877
It's the atomic. What I meant to say was that I did the single coil build on both atomic and rm2 as I was doing a direct comparison between the two atties with the same build and juice to see which works better and produces the better flavour
Sent from my SM-N9005 using Tapatalk
Hey bud,@Alex, I'm trying your recommended setup of para coil, 7 wraps, 1.4mm ID with 28g Kanthal. Need your advise please if it's looking right. Is it not a bit too long? Is the positioning correct?
View attachment 11878
Not sure if it's maybe just the lack of light in the pic but I'm counting 9 wraps on that coil.
It seems like there is quite a bit of space between the wraps. Try and get the wraps to touch but no overlap.
Once you've wrapped the coil on the mandrel, grab it with tweezers then torch it to compress it.
Once you've installed it onto the rm2, fire it up and use the tweezers to pinch it together.
You want it to look like the pic below. But with one less wrap. My pic is of an 8 wrap paralell coil I posted a while back.

Hope this helps!
All of the guys count from the initial wrap. I get what you're saying about them being half wraps in a sense though.Thank you so @Yiannaki! Do I count from the wraps from the initial wrap, I thought that the 1st and last wraps are half wraps and should not be counted? That's how I ended up with 9 wraps
Just a tip, always stick within a range of 6 - 8 wraps. If the resistance you want requires more than 8 wraps, then you need a higher resistance wire. Same applies to whether you need a lower resistance.
Anything less than 6 wraps doesn't seem to work very well. So if your target resistance requires 5 wraps of a certain wire, use a lower resistance wire instead to get into the 6-8 wrap range.
Good job bud!
Definitely much better
How are u finding it?
Try experiment with coil height as well as the distance from the edge of the rm2.
Even the slightest variance with these will affect the experience of the vape.
Yay  Thanks @Yiannaki! It's vaping really great! The atty gets hot really quick though. Trying Whirling Dervish for the 1st time. Tastes wonderful
  . Only prob I have is that the air hole is not ling up with the coil. The air hole is actually on the opposite side of the coil. Is there any way to sort this out?
YayThanks @Yiannaki! It's vaping really great! The atty gets hot really quick though. Trying Whirling Dervish for the 1st time. Tastes wonderful
. Only prob I have is that the air hole is not ling up with the coil. The air hole is actually on the opposite side of the coil. Is there any way to sort this out?
Hi @Imthiaz Khan , that is very strange for the airhole to be on the opposite side
When you screw in the RM2 cap the airhole should be somewhere close to where that coil is, a bit to the right of the drain hole. That is how the RM2 is manufactured
Did you by any chance create your own airhole?
Hi @Silver. Yeah it is weird! These are the new RM2's I got from @Oupa from the pre-order. My previous RM2's align to where the coil is. Do you think they might have drilled it incorrectly when manufacturing it? No, I did not create my own air hole, it is stock standard and I just received it yesterday. Is there any possible fix for this?
Hi @Silver. Yeah it is weird! These are the new RM2's I got from @Oupa from the pre-order. My previous RM2's align to where the coil is. Do you think they might have drilled it incorrectly when manufacturing it? No, I did not create my own air hole, it is stock standard and I just received it yesterday. Is there any possible fix for this?
Just double check if the ceramic deck is not 180° fastened wrongly, happens to me occasionally when I dismantle and clean the RM2 - loosen the coil post closest to the juice hole, turn the ceramic deck 180° and fasten the coil post again.
Ω @johan, sorry, I am not a 100% sure how to do this. Do I grab the post closest to the air hole with a plier and unscrew it? If so, should I only unscrew the 1 post, then insert a screw driver into the air hole and try turning it 180° ?
I use a plier to unscrew the post, so yes. Once the coil post is out, the deck will be loose and should turn easily with a screw driver (or by hand), just check through the coil post hole to align with the bottom where you screw the coil post back in. On mine I just need to unscrew the coil post closest to juice hole. I try to find a youtube video of Super-X showing exactly how to dismantle a RM2.
Similar threads
- Replies
- 0
- Views
- 166
- Replies
- 4
- Views
- 299
- Replies
- 0
- Views
- 5K


