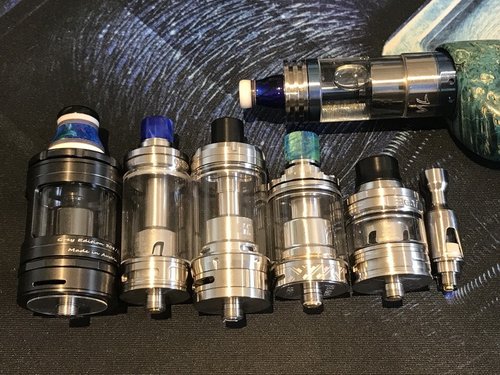
This is my first major pitstop post, I tend to avoid posting as I have major OCD, no jokes, it takes me 2 days to wash my car, I remove the seats, exterior lights and wheels...but that's for another day. Some call me unnecessary but I prefer calling it "whole heartedly".
Took my time making a beautiful tri core alien (3 x 28ga, 38ga alien, all ni80, 5 wraps on a 2.5mm ID rod).View attachment 101873
First I disassembled my ESG Skyline and removed all removable parts including o-rings and insulators and popped them into the ultrasonic cleaner with some dish soap for a well deserved spa bath.View attachment 101872 Next I rinsed and dried everything and lined them up. Did you know the Skyline is made up of 15 removable pieces including screws and insulators and 10 o-rings?View attachment 101874Next up I installed all o-rings, gave all o-rings and threading a coat of PG with an ear bud.View attachment 101875 View attachment 101876 I then installed my masterpiece, aligned, pulsed, worked out hot spots and left to cool.View attachment 101877 View attachment 101878View attachment 101884 View attachment 101879 I used The Cotton Candy Collection to wick, nice and snug through the coil and then combed the tails out with a blackhead remover, cut the excess fuzzies off flush with the o-ring on the outer part of the deck and tucked them in ever so gently making sure not to obstruct the airflow slot.View attachment 101880 View attachment 101881 View attachment 101882 View attachment 101883 I then primed the build, let the juice soak into the cotton, assembled everything, closed the juice flow and filled the tank.View attachment 101885 View attachment 101886 Before having a toot, this is the reward of my very meticulous and time consuming pitstop upon opening the juice flow.
View attachment 101887 After taking a couple drags on her, I can say it was well worth the time and effort. FLAVOR, FLAVOR, FLAVOR!!!

Thanks for this write up. Will follow these steps going forward. Job well done.


